
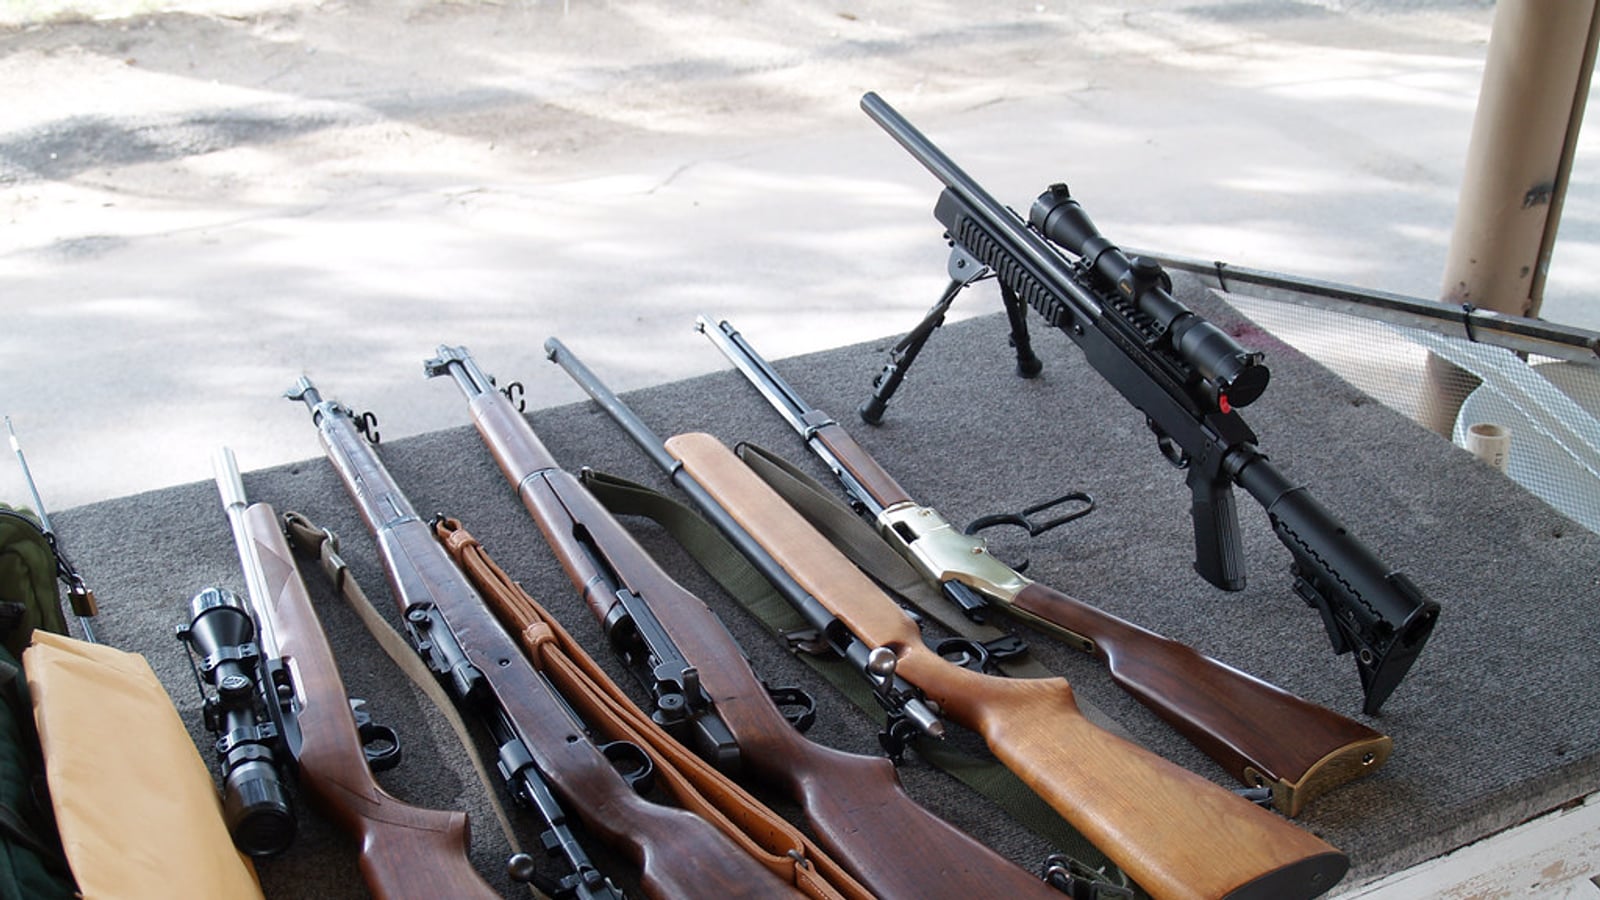
Why this choice isn’t trivial
A shooter starting out in precision shooting looks first at the rifle, then the scope, and thinks about the shooting support last, often after already spending the planned budget. That’s the reverse of the order you should follow, because your support directly determines how well you can exploit the rest of your gear. A rifle capable of half-MOA sitting on an unstable rest produces mediocre groups that have nothing to do with the rifle’s real precision.
Bipod and tripod aren’t two variants of the same object, they’re two answers to different problems. The bipod stabilizes the front of your rifle in prone or near-ground position, staying attached to the weapon itself. The tripod is an independent support, adjustable in height over a wide range, that lets you shoot seated, kneeling, or even nearly standing depending on the model.
Confusing the two uses leads to regretted purchases: a shooter who mainly practices seated on hilly terrain and invests in a top-end bipod ends up with a tool that doesn’t match their real-world terrain. Conversely, a shooter who stays essentially prone on a flat firing line has no real use for a heavy, bulky tripod.
This article compares the two support families on the criteria that matter: use depending on shooting position, stability, adjustable height, terrain adaptation, and budget depending on whether you’re aiming at PRS (Precision Rifle Series) or long-range prone shooting on fixed ranges. The goal is to help you invest once, in the right tool, rather than accumulate poorly chosen gear.
The bipod: how it works and its main use
A bipod attaches directly under the rifle’s forend, usually via a Picatinny rail, an Arca-Swiss mounting point, or a traditional stud depending on the stock. It deploys two articulated legs that touch the ground and turn your rifle into a self-stable system as soon as you’re prone.
The bipod’s main advantage is that it stays attached to the weapon at all times. You have nothing to set down, align, or stabilize separately: as soon as you’re lying down and you fold out the legs, the system is ready. That’s real time savings in PRS competition, where every stage is decided within a limited time, often less than a minute and a half per stage.
Modern bipods offer spring-loaded legs that absorb some of the recoil by compressing slightly, which limits the rifle’s bounce and speeds up your reacquisition of the target between shots. Some models add lateral rotation (the “cant”) that lets you compensate for a slight slope in the ground without repositioning your whole body.
The bipod’s fundamental limit is its height. Even the tallest models on the market rarely exceed about thirty centimeters when deployed, which limits its use to the prone position or, for some longer models, a semi-seated position with your legs folded in front of you. Beyond that, the bipod becomes unusable and you have to switch to another support.
The tripod: how it works and its main use
A shooting tripod takes the architecture of a photo tripod, with three independently adjustable legs and a swiveling head on top that holds a weapon mount, often a clamp system or an Arca-Swiss adapter compatible with the rifle’s forend.
Its main strength is its height range. A well-chosen tripod covers a span that goes from a low seated position all the way to a nearly standing position, making it the only truly versatile support for varying terrain. That’s a major asset in field use, especially in PRS where stages often force improvised positions behind a wall, a barrier, or a rock.
The tripod head plays a role almost as important as the legs. A ball head allows fine adjustments in elevation and azimuth, useful for tracking a moving target or quickly adjusting your line of sight without repositioning the whole tripod. A more basic single-motion head is enough for static use on a fixed firing line but limits your responsiveness in dynamic use.
Weight and bulk are the logical trade-off for this versatility. A tripod capable of standing tall and staying stable structurally weighs more than a bipod, and takes longer to deploy. That’s not a problem in static precision shooting on a dedicated range, but it can cost precious seconds in a timed competition if you haven’t trained to deploy it quickly.
Prone position: the bipod’s natural advantage
In the prone position, the bipod remains the reference tool and nothing effectively replaces it. Your sight line is already close to the ground, your body is naturally spread out and stable, and the bipod simply completes this already-good stability by eliminating the last weak link: the forend trembling between your hands.
A tripod adjusted down to ground level for a prone position exists on paper but remains a less effective mechanical compromise than a dedicated bipod. The minimum height of a tripod, even with legs retracted as far as possible, often exceeds that of a good, low-set bipod, forcing you to raise your head and breaking your natural prone sight position.
Prone shooting remains the reference position in long-range shooting at great distances, particularly on 300-meter ranges where stability matters more than speed of getting into position. In this context, investing in a quality bipod with individually adjustable legs, to compensate for slightly uneven ground, has more impact on your grouping than any other accessory at an equivalent budget.
The only case where the bipod shows its limits in the prone position is on steeply downward-sloping terrain facing you, where even individually adjustable legs are no longer enough to compensate for the angle. In that specific case, a front shooting bag or an extra rest placed under the bipod restores some adjustment margin.
Seated position and varied terrain: the tripod’s advantage
As soon as you leave the prone position, the balance of power shifts sharply. In a seated position, kneeling, or in an improvised position behind an obstacle, a classic bipod becomes either unusable or very uncomfortable, while a tripod set to the right height regains all its relevance.
PRS was built precisely around this reality: competition stages impose varied shooting positions, often from artificial structures (barricades, barrels, platforms) that simulate real-world terrain. A shooter who only owns a bipod frequently ends up improvising a makeshift rest on these stages, with a loss of precision directly linked to the instability of that improvised support.
Hilly or rugged terrain also clearly favors the tripod. On sloped, uneven, or vegetation-cluttered ground, setting a bipod down flat becomes difficult or even impossible, while a tripod with independently adjustable legs adapts to local elevation changes without you needing to reposition your whole body.
Long-range shooting under federation rules remains overall more static than PRS, with shooting positions generally fixed in advance on prepared ranges. If your practice is limited to this format, the tripod’s advantage on varied terrain weighs less in your decision, and the criterion of pure stability in the prone or fixed seated position becomes the priority again.
Comparing stability: what each system really brings
A bipod’s stability comes from its direct proximity to the weapon and the short distance between the contact point and the center of gravity of the rifle-shooter system. This proximity limits oscillation but remains dependent on the quality of your body contact points, particularly your elbows and your chest on the ground.
A tripod’s stability, on the other hand, comes from its own mass and the width of its footprint on the ground, independent of your body position. That’s a real advantage in a seated or kneeling position, where your own body is structurally less stable than when prone, and where a support that doesn’t depend on your personal posture compensates for that natural instability.
The rigidity of the tripod head, however, introduces a point of vigilance that the bipod doesn’t have. A poorly tightened or mediocre-quality ball head can introduce play that shooting itself reveals through a slight movement after recoil, a flaw that classic rigid bipods don’t have since they have no equivalent swiveling joint.
In practice, the best stability in PRS competition often combines both systems depending on the stage: bipod for prone or near-ground positions, tripod for elevated positions. That’s why seasoned PRS shooters generally own both, rather than having to choose a single universal support.
Adjustable height: the criterion that often decides the choice
The question of adjustable height goes well beyond simple comfort, it directly determines which shooting positions are accessible to you. A bipod offers a restricted height range, generally 15 to 30 centimeters depending on the model, which covers only the prone position and possibly a very low semi-seated position.
A well-designed tripod covers a noticeably greater range, often from 50 centimeters to over 1.5 meters depending on the model and leg extension. This range lets you go from a low seated position to a nearly standing position without changing support, making it the reference tool as soon as your practice involves varying shooting heights.
The adjustment mechanism matters as much as the range itself. Tripods with quick-release levers allow adjustment in a few seconds, which becomes decisive in timed competition. Threaded-screw models are often more precise once set but slower to adjust, a trade-off to consider depending on whether you shoot for leisure or competition against the clock.
Some high-end bipods now offer extended height adjustment, with telescopic legs that go well beyond the category’s usual standards. These models slightly blur the line between the two support families, but remain limited in real use as soon as you leave a near-ground position: the geometry of a bipod attached under the forend simply isn’t designed for a seated or standing shooting height.
Price range comparison for PRS and long-range shooting: entry level
At the low end of the market, you’ll find simple bipods with two fixed height positions, without lateral rotation or individually telescopic legs, generally in standard aluminum. They fulfill their basic function in the prone position on flat terrain, without further refinement.
Entry-level tripods often reuse a generalist photo tripod architecture adapted with a weapon adapter, rather than a design conceived from the outset for shooting use. The head is generally basic, single-motion, and stability at maximum height remains limited by how thin the legs are.
This tier suits getting started with the practice, whether that’s beginner long-range shooting on a flat range with a simple bipod, or introductory PRS where you’re testing the format before investing further. The limits appear quickly as soon as you look for lateral rotation, fine height adjustment, or serious resistance to repeated recoil from powerful calibers.
One point to watch at this price level: check mount compatibility with your rifle before buying, whether that’s the rail type, the Arca-Swiss standard, or the traditional stud. Poor compatibility, even with an otherwise decent support, makes the whole setup unusable and forces you into an extra adapter that eats into your initial budget.
Price range comparison for PRS and long-range shooting: mid-range
This is the tier where the majority of regular PRS and long-range shooters find their reference equipment. Bipods in this range offer functional lateral rotation (cant), spring-loaded legs that absorb recoil, and often height adjustment across several positions with a more reliable locking mechanism than entry level.
Mid-range tripods generally include a ball head dedicated to shooting use rather than a repurposed photo head, with a quick-release system on the legs and a native Arca-Swiss adapter compatible with most modern forends. Stability in the high position improves noticeably thanks to larger-diameter legs.
This is also the tier where manufacturers start offering complete kits, pairing head and legs designed together rather than assembled separately, which improves the system’s overall mechanical coherence. Weight stays reasonable for regular competition or club use, without becoming a burden to carry on PRS stages that sometimes require walking between shooting positions.
For a shooter who seriously practices either discipline, this tier generally represents the best ratio between investment and real stability gain compared to entry level. The difference is especially noticeable on groupings in windy conditions, where a support that doesn’t budge an inch matters more than any other factor.
Price range comparison for PRS and long-range shooting: high end
At the top of the market, bipods incorporate stiffer materials, sometimes titanium on the most stressed parts, with locking mechanisms that show no perceptible play even after years of intensive use. Lateral rotation and height adjustment become nearly instant thanks to ergonomic levers designed for adjustment while in shooting position, without having to let go of the rifle.
High-end tripods rival professional photo or video equipment in terms of rigidity, with carbon legs that lighten the whole setup without sacrificing stability, and ball heads with noticeably superior smoothness and clamping precision. Some models offer independent locking on each axis of the head, useful for locking in an exact position without one adjustment affecting the others.
This tier is aimed mainly at serious PRS competitors targeting a national ranking, where every second saved in deployment and every eliminated micro-oscillation counts directly toward the final score. For a leisure shooter or even a regional competitor in long-range shooting, the real performance gap compared to mid-range is often hard to perceive in everyday use.
The question to ask yourself before investing at this price level isn’t just about budget but also about your skill level: a high-end support never compensates for a shooting technique that’s still developing. Many shooters progress faster by investing the price difference between mid-range and high-end into extra training sessions rather than into the support itself.
One last useful benchmark for sizing your budget: most club shooters who shoot regularly as a hobby find a satisfying compromise at mid-range, and save the high end for the point where they objectively notice their support has become the limiting factor in their groupings, rather than anticipating that need before they’ve even felt it in the field.
Weight on the rifle: the bipod’s often underestimated impact
Once mounted on the weapon, a bipod isn’t a weight-neutral accessory, unlike a tripod which remains a completely separate object from the rifle as long as you’re not handling it. This extra weight, often between 200 grams and half a kilo depending on the model, shifts the center of gravity toward the front of the forend.
This shift in center of gravity has a real effect on handling the weapon outside of stabilized shooting phases, particularly during quick transitions between positions in PRS where you have to lift and move the rifle between two shooting zones. A rifle that’s heavier at the front handles differently, with increased inertia that can work in your favor in a static position but slow you down while moving.
The lightest bipods, often in thin aluminum with a minimalist mechanism, limit this effect but generally sacrifice rigidity and resistance to repeated recoil. The sturdiest, heavier models bring better stability in a fixed position but accentuate the forward imbalance you have to compensate for while standing or moving.
A tripod, by contrast, never changes your rifle’s balance since it remains a completely independent support that you set down and pick up as needed. That’s a real advantage if you also practice other shooting formats with the same weapon, where a permanently attached bipod would become a nuisance outside the phases where you actually need it.
Bulk and storage between sessions
Once folded, the bipod stays attached to the weapon and naturally follows your rifle’s usual storage in its case or transport bag. That’s a simple logistical advantage: you have nothing extra to bring or forget when heading out to the range or a competition.
A tripod, by contrast, is a separate item to transport, often longer than a standard rifle bag once folded. Many shooters underestimate this bulk at the time of purchase, before realizing the tripod doesn’t easily fit into their usual carry bag and needs an extra dedicated bag.
Storage at home between sessions follows the same logic. A bipod requires no additional storage space since it stays on the weapon, stored as usual in its regulation safe. A tripod, on the other hand, has to find its own spot, which can become a non-negligible practical factor if your storage space is already limited.
This bulk question weighs particularly on shooters who travel by public transport or in a small vehicle to the club or range. A high-end tripod that folds down to a short section exists on the market but remains rarer and generally more expensive than models with classic sections.
Winter use and difficult weather conditions
Gear behavior changes noticeably depending on weather conditions, an aspect often neglected at purchase time. A bipod with thin feet sinks more easily into soaked ground or snow, which changes your sight height unpredictably from one shot to the next if you don’t compensate with wider feet.
A tripod, with its wider footprint spread over three points instead of two, generally distributes the load better on soft ground, which limits uneven sinking between contact points. This advantage is especially noticeable on muddy or sandy ground, where a bipod with two closely spaced feet can create a slight tilt if one of the two points sinks more than the other.
Cold also has a direct effect on locking mechanisms, whether it’s a tripod’s quick-release levers or a bipod’s spring-loaded deployment system. Standard lubricants stiffen in extreme cold and slow down movement, which can make a normally quick deployment more laborious during a winter session.
Wind, finally, affects the two systems differently depending on their respective wind exposure. A tripod deployed high, with its thin legs and elevated head, offers greater wind exposure than a bipod that stays close to the ground, which can introduce extra oscillation in the highest positions under very windy conditions.
The bipod-and-tripod combo: a solution that’s spreading
More and more PRS shooters now own both systems rather than having to choose, notably because some modern bipods mount directly onto a tripod head via a shared adapter, usually the Arca-Swiss standard. This cross-compatibility greatly simplifies field logistics.
The practical benefit of this combo is the speed of transitioning between positions within the same competition stage. You can start a stage in the prone position with the bipod folded under the forend, then move to an elevated position by mounting your support directly onto the head of the tripod already in place, without having to completely change configuration.
This combined setup, however, requires real learning time. Handling quick transitions between the two configurations isn’t something you improvise on competition day, it’s something you work on beforehand in training sessions dedicated specifically to gear handling, separate from pure shooting practice.
For a long-range shooter who practices on a fixed range, this combo is of less interest since position changes during a session are rare. In that case, it’s often more sensible to invest fully in an excellent bipod rather than split the budget between two supports, one of which will see little use.
Maintenance and durability over time
Pivot points remain the main wear factor on both types of support, well ahead of the legs or feet themselves. Every fold-unfold cycle stresses the same axes, and play that gradually appears becomes harder to correct once it’s set in than it is to prevent beforehand through regular maintenance.
On a bipod, the most exposed area is the mounting point on the rail or Arca-Swiss adapter, which directly absorbs recoil vibrations with every shot. Regular cleaning of this area, removing dust and powder residue that can build up with intensive use, limits premature wear on the locking mechanism.
On a tripod, it’s the quick-release levers on the legs that wear out first, particularly if the tripod is regularly set up and taken down in dirt or sand conditions that infiltrate the mechanism. Rinsing with clean water followed by complete drying, after a session in muddy conditions, prevents the buildup of abrasive particles in the levers.
Storage between sessions also plays a direct role in longevity. A tripod left folded in a damp car trunk develops corrosion on untreated metal parts more easily than if it’s stored dry with its bag. For a bipod that stays attached to the weapon, this risk is generally lower since it benefits from the same protected storage environment as the rifle itself, in principle in a regulation safe sheltered from humidity.
Finally, a periodic check of visible screws and bolts, on both types of support, takes only a few minutes before each session and avoids unpleasant surprises of mechanical play mid-shot. This simple habit matters especially after car transport, where road vibrations can gradually loosen certain elements without you noticing before the next session.
Complementary accessories that improve both systems
A rear bag placed under the stock remains an almost indispensable addition, whether you use a bipod or a tripod as your front rest. This bag lets you micro-adjust the rifle’s elevation without moving the main support, which noticeably refines your position repeatability from one shot to the next.
A bubble level, mounted on the scope rail or placed directly on the support, helps you check that your setup is truly level before each shot. A slightly tilted bipod or tripod distorts your perception of the sight line in a way that’s often imperceptible to the naked eye, especially after dozens of shots and visual fatigue late in a session.
For the tripod specifically, a weight strap that attaches between the legs and lets you add weight (sandbag, weighted vest) noticeably increases stability in the high positions, where the tripod is structurally most sensitive to vibration and wind. It’s an inexpensive accessory that improves overall rigidity without needing to change models.
For the bipod, interchangeable feet, with spikes for soft ground and wide pads for hard or slippery surfaces, adapt the same bipod to very different ground conditions without a major investment. It’s a simple upgrade that directly addresses the uneven-sinking problem mentioned above on soft ground.
Finally, a dedicated carry bag, whether sold with the support or bought separately, protects the locking mechanisms from impacts and dust that, over time, degrade the precision of the joints. It’s not an accessory that improves shooting performance, but it directly extends the useful lifespan of your initial investment.
Common mistakes in choosing a support
The first mistake is buying a tripod purely because the PRS format is trendy, without really assessing your own practice. If you mostly shoot prone on a flat range, a high-end tripod remains largely underused and a good bipod better matches your actual use.
The second, opposite mistake is limiting yourself to a simple bipod thinking you’ll move toward PRS later, then discovering in competition that the lack of a solution for elevated positions directly penalizes your score. If you know from the start that you’re aiming for dynamic competition, planning ahead for a tripod purchase avoids this disappointment.
The third mistake concerns mount compatibility. Buying a bipod or tripod head without checking your own rifle’s mounting standard (rail, Arca-Swiss, stud) often forces you into an extra adapter, sometimes of mediocre quality, which reintroduces play that the main support didn’t actually have.
The fourth mistake is neglecting training in handling the gear. An excellent support poorly mastered under stress or timed conditions produces worse results than a more modest but perfectly mastered support. Gear never replaces the repetitions needed to automate deployment and adjustment under pressure.
Finally, many shooters underestimate wear related to repeated transport. A tripod or bipod stored without protection in a transport case accumulates knocks that, over time, introduce play in the joints. A dedicated bag, even a basic one, noticeably extends the gear’s lifespan and avoids a gradual degradation in stability that you don’t notice right away.
How to test your support before the final purchase
If you get the chance to try the gear at a club or shop before buying, a few simple checks are worth more than any spec sheet. For a bipod, fold and unfold the legs several times while watching whether the locking mechanism stays firm, then simulate recoil pressure by pressing on the forend to feel whether the feet slip or stay put.
For a tripod, set the legs to a middle height and apply lateral pressure to the head to assess torsion resistance. A tripod that twists easily under moderate pressure will show the same flaw, amplified, at the moment of actual recoil from the weapon.
If you’re at a club, ask other members who’ve been practicing PRS or long-range shooting for several seasons which support they use and why they made that choice. Their feedback on real-world durability and fit for a specific use is worth far more than a product spec sheet, since they’ve already gone through the trade-offs you’re about to face.
Finally, if your budget allows, seriously consider trying both systems during a course or clinic before settling on your final choice. Many clubs have loaner gear or shooters willing to let you try their equipment, which saves you from blindly investing in a support that ultimately doesn’t match your actual practice.
Also take the time to observe the gear used by placed shooters at a PRS or long-range competition you attend as a spectator. Not to copy a specific choice, but to spot the general trends in configurations that come up most often among experienced practitioners facing the same terrain constraints as you. A regional champion or a seasoned club shooter rarely choose their support at random, and their setup reflects trade-offs already validated by repeated experience in real conditions.
FAQ
Q: Can you use a bipod and a tripod at the same time on the same rifle? A: Yes, as long as both systems share a common mounting standard, usually Arca-Swiss, which lets you switch quickly between the two depending on shooting position. This combination does require specific training in handling, though.
Q: Which support should you prioritize when starting out in PRS? A: A mid-range tripod remains the most versatile choice since competition stages impose varied, often elevated positions. A bipod still remains useful as a complement for near-ground positions.
Q: Is a bipod enough for long-range prone shooting? A: Yes, in the vast majority of cases, since this discipline is generally practiced on a fixed range in the prone position, where the bipod excels. A tripod only brings a real advantage if your practice includes varied positions.
Q: Should you prefer carbon or aluminum legs for a tripod? A: Carbon lightens the setup without sacrificing rigidity but costs noticeably more. Aluminum remains a solid, economical choice for leisure or regional competition use without extreme weight constraints.
Q: How do I know if my instability comes from the support rather than my technique? A: First eliminate other variables (ammunition, optic setup, body position), then observe whether the support itself visibly moves when firing. If the bipod or tripod vibrates or shifts despite correct adjustment, the support is the culprit.
Q: Is a cheap adapter enough if my rifle doesn’t have the Arca-Swiss standard? A: It mostly depends on the adapter’s quality, since a mediocre one often reintroduces play that the main support didn’t actually have. Check reviews specifically on the adapter’s rigidity before buying.