
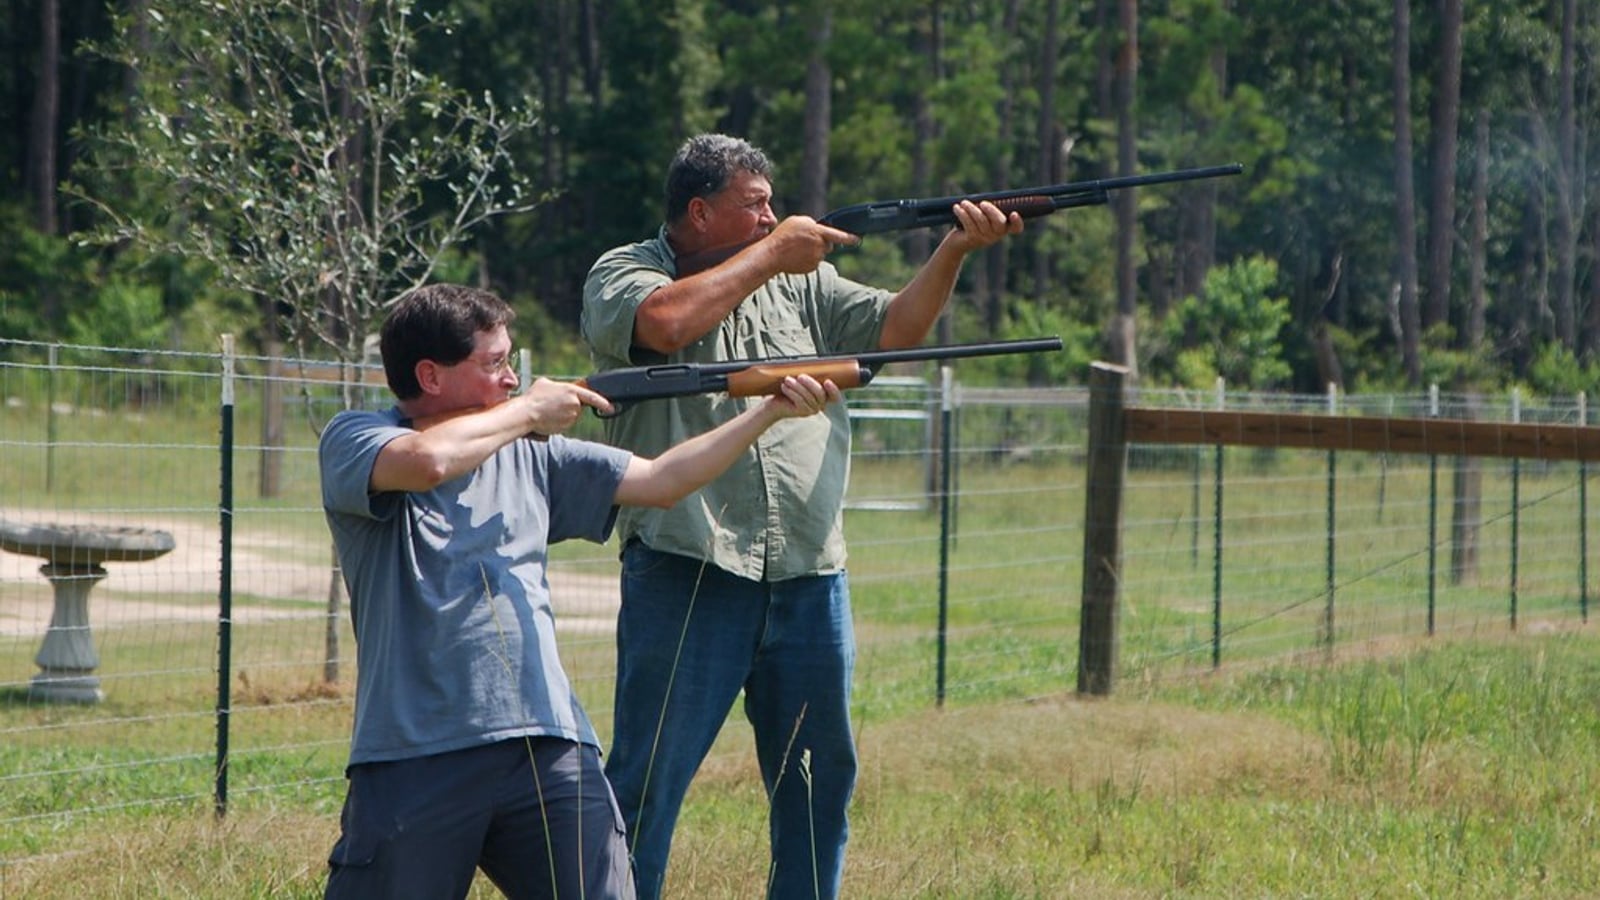
Skeet, a discipline of precision and timing
Skeet is one of the three major clay target disciplines, alongside trap and sporting clays. Unlike trap, where every clay leaves from the same zone heading forward, skeet is shot on a half-circle with two fixed machines that throw known trajectories. What changes everything is that the shooter knows exactly where the clay will come from and where it’s going.
This setup completely transforms the nature of the exercise. In trap, you manage the uncertainty of direction. In skeet, you manage timing and the crossing angle. The clay always follows the same path for a given station, so the variable that remains is your execution speed and your ability to read the angle at the right moment.
The skeet layout is a half-circle with a 19.20-meter radius and eight numbered stations, from 1 to 8. Two houses throw the clays: the “high house,” placed on the left, which throws a clay at roughly 3 meters high, and the “low house,” placed on the right, which throws a clay at roughly 1 meter high. This height asymmetry at launch creates different trajectories that you need to learn to read from each station.
For a shooter coming from trap or sporting clays, skeet requires retraining your eyes and your timing. You’re no longer looking for a target that could go anywhere within a given angle: you learn eight precise trajectories and repeat until the movement becomes automatic. It’s a discipline that rewards training consistency more than raw talent at the start.
Many beginners underestimate how technical skeet is because the trajectories are “known.” In reality, this predictability just moves the difficulty elsewhere: to reaction speed, to managing the timing of your mount, and to the precision of the interception point. An experienced coach often repeats this to students: in skeet, you never miss because you didn’t know where the clay was going — you miss because you arrived too late or too early on your shooting window.
The layout in detail
The skeet half-circle is marked on the ground with precise reference points. Stations 1 and 7 sit exactly under each house, which produces very particular shooting angles since the clay launches almost from under your feet. Stations 2, 3, 4, 5 and 6 are spread evenly along the arc, with station 4 sitting at the exact center, facing the shooting line. Station 8, a special one, is placed in the middle of the diameter connecting the two houses.
The launch height of the clays is strictly regulated: about 3.05 meters for the high house and about 1.05 meters for the low house, measured 4.57 meters from the house. These heights aren’t arbitrary — they define the rising or falling angle each trajectory will follow, and therefore the shooting window you’ll have at each station.
The crossing point of the two trajectories, often called the “crossing point” or center stake, is theoretically located near station 4 or in its immediate vicinity. This is the point where the two clays, if launched simultaneously, would cross in the air. This visual reference is essential: it tells you how far you can let the clay travel before you need to have already fired.
Each station has a standardized distance from the base shooting line, but the key difference between stations lies in the angle at which you see the trajectory unfold. From station 1, you see the high-house clay launch almost from beneath you and move away while climbing — a fairly easy target since the apparent angular speed is low at first. From station 4, in contrast, you see both trajectories almost perpendicular to your line of sight, which demands the best gun-mount speed of the whole layout.
The shooting pad ground is generally stabilized, flat, and clear across the full width of the half-circle to allow smooth body rotation without obstacles. A well-maintained skeet layout also has clear waiting areas behind each station, since the crossing trajectories and varied angles demand particular vigilance about where waiting shooters stand.
Station 1: getting started near the high house
Station 1 sits directly under the high house, slightly offset to the side. From this position, the high-house clay launches almost vertically from your position and moves away in front of you, gradually descending toward station 7. It’s a relatively generous trajectory early in the round, since the clay is still close and its apparent angular speed stays moderate.
The low-house clay, on the other hand, arrives from far away head-on and crosses your whole field of view at a sharper angle. From station 1, this target demands finer anticipation because it comes from the other side of the layout and its apparent lateral speed is higher right from the start.
The double at station 1 imposes a set order: you shoot the high house first, the one launching near you, then pivot to take the low house coming from the front. Managing the timing between the two shots is crucial, since the second clay has already covered part of its path while you deal with the first.
Many clubs start new skeet shooters at station 1 precisely because the high house there is the most accessible target on the layout. An experienced club shooter often tells beginners: nailing your first hits at station 1 builds the confidence you need before tackling more technical stations like 4 or 6.
Station 2: the first step up in difficulty
At station 2, the angle relative to both houses starts shifting noticeably. The high house still shows a fairly close trajectory but with a more pronounced lateral component than at station 1. The shooter already needs to anticipate a wider shoulder movement to stay on the clay’s line.
The low house, from this station, becomes more technically interesting: the clay crosses your field of view with a stronger apparent speed, and the optimal shooting window narrows slightly compared to station 1. It’s generally at station 2 that beginners start feeling the need for a fluid swing rather than a simple static aim.
Station 2 also introduces an important nuance in visual reading: the clay’s launch point and the point where you’ll ideally intercept it are no longer obviously aligned. You already need to mentally “carve out” a shooting zone rather than tracking the clay from its origin all the way to impact.
On the station 2 double, the high-house-then-low-house sequence demands a more decisive torso rotation than at station 1. It’s a good station for working on the transition between two targets without either clay’s individual difficulty being excessive.
Stations 3 and 5: climbing toward the heart of the half-circle
Stations 3 and 5 sit on either side of the center station, halfway between the ends and station 4. These are hinge stations where the crossing angle of both trajectories becomes markedly sharper than at the peripheral stations.
At station 3, the high house already shows a fairly pronounced angle, with significant apparent lateral speed. The shooter needs to start the swing earlier and follow the clay with continuous body rotation, otherwise the shot consistently lands late. The low house, from this same station, is generally considered one of the fastest-reading targets on the layout since it crosses the sight line at a near-perpendicular angle.
Station 5, symmetric to station 3 relative to station 4, follows reversed logic: it’s the high house that becomes the more demanding target in terms of angle, while the low house gradually approaches a more linear trajectory relative to the shooter’s position.
These two stations are often identified by coaches as the moment a shooter coming from other clay disciplines really has to relearn their swing. A regional clay-shooting champion likes to explain to students that stations 3 and 5 are an excellent test of movement fluidity, since any hesitation or stall in the swing immediately translates into a missed clay behind it.
Station 4: the crossing point at the heart of the layout
Station 4 sits exactly at the center of the half-circle, facing the theoretical crossing point of the two trajectories. This is the station where both clays, high house and low house, show the angle closest to perpendicular relative to the shooter’s sight line.
Technically, it’s the station demanding the greatest shoulder speed of the whole skeet layout. The clay crosses the field of view very quickly at a full-broadside angle, and the effective shooting window is the shortest of the whole half-circle. A shooter who stays on a static aim or starts the swing too late will consistently miss at station 4, even with a solid overall skill level.
The key at station 4 is to start the body movement even before the clay arrives in the ideal shooting zone, anticipating the trajectory thanks to acquired knowledge of each house’s exit point. Your gaze should be ahead, on the anticipated impact point, not on the clay itself at the moment of the shot.
The station 4 double is considered by many experienced shooters to be the most demanding of the standard skeet layout, since it combines two clays with very tight timing and a fast transition between two nearly symmetrical angles. It’s generally on this station that the score gap between an average shooter and a well-trained one plays out.
Stations 6 and 7: coming back down toward the low house
Station 6 mirrors, in reverse, the logic of station 2 but on the low-house side. The low house shows a close, relatively generous trajectory there, while the high house, coming from far away, crosses the field of view at a sharper angle with stronger apparent lateral speed.
It’s a station where many shooters mistakenly let their concentration drop, thinking the hard part is behind them after station 4. In reality, the high house at station 6 remains a technical target that deserves the same level of swing commitment as the central stations.
Station 7, directly under the low house, mirrors station 1. The low house launches almost from beneath the shooter with a generous trajectory, while the high house arrives from far away head-on with a sharper crossing angle.
The station 7 double reverses the order from station 1 in most rulesets: it’s generally the low house that goes first since it’s the closer one, followed by the high house. This order reversal between stations 1 and 7 is a detail beginners frequently forget during their first complete rounds.
Station 8: the shortest and most technical target
Station 8 occupies a unique position on the skeet layout: it’s placed at the center of the diameter connecting the two houses, perpendicular to the station 4 axis. From this position, the shooter is very close to both clay launch points, which radically changes the nature of the exercise.
At this station, the available reaction time is the shortest of the whole layout. The clay, whether from the high or low house, is already very close to the shooter by the time it becomes visible and workable. There’s practically no room for a wide swing: the shot comes down to a fast reaction and a very responsive shoulder, with an extremely brief shooting window.
Many shooters describe station 8 as the most “brutal” station on the layout in terms of execution speed, but paradoxically one of the simplest in terms of angle reading, since the trajectory is almost fixed and very close. The difficulty isn’t knowing where to shoot but being ready in time.
Station 8 is generally shot with the gun already mounted higher than at other stations, and a foot position oriented to allow quick rotation both ways, since you sometimes need to deal with the high house then immediately pivot to the low house, or the reverse depending on the shot sequence order.
The double in skeet: logic and sequence
The double is a central element of skeet that sets this discipline apart from classic trap. On several stations of the standard layout, the shooter must deal with two clays launched simultaneously, one from each house, in a precise order defined by the discipline’s rules.
The difficulty of the double isn’t just about hitting two targets, but about managing the time between the two shots. While you’re dealing with the first clay, the second continues its trajectory and gets closer to the point where it becomes harder to intercept effectively. The sequence must be fluid: first shot, quick re-aim, second shot, with no dead time between the two actions.
The order for processing the two clays within a double follows simple logic that still needs to be memorized station by station: you generally deal first with the clay whose trajectory is closest or fastest to “lose” if you wait, and second with the one whose trajectory stays workable longer. This logic explains why the order flips between stations near the high house and those near the low house.
Working on the double requires specific training, distinct from single-target work. An experienced coach often recommends breaking the exercise down: first master each clay individually at the station in question, then assemble the full sequence once each trajectory is well memorized independently. Trying to work on the double before mastering the singles generally leads to needless frustration.
Typical gear: skeet gun versus trap gun
Choosing a gun for skeet follows different logic than trap, even though both disciplines share the same family of smoothbore guns. A typical skeet gun generally has a shorter barrel than a trap gun, since skeet targets are engaged at shorter distances and demand superior handling rather than maximum range.
A skeet gun’s choke is generally more open than what’s used in trap. Where trap favors tight chokes to hit clays at increasing distance, skeet most often uses cylinder or very open chokes, since shooting distances are short and a wider spread increases the odds of hitting clays that cross the field of view quickly.
A skeet gun’s stock is often set up with a flatter sight line than a trap gun, since skeet doesn’t require aiming systematically above the clay the way trap does, where targets climb steeply. The desired point of impact in skeet is generally closer to the eye’s natural line, which affects rib and comb adjustment.
In terms of weight and balance, a skeet gun is often sought lighter at the muzzle end with a more centered balance point, favoring a quick swing pickup. A trap gun, conversely, often favors weight concentrated more forward to stabilize the shot on targets that are slower to move away but fired at longer range.
12-gauge dominates both disciplines widely in competition, but skeet is also widely practiced in smaller gauges like 20, 28, or .410, particularly in specific competitions or for technical training. These smaller gauges, by imposing a tighter pattern with fewer pellets, demand even more rigorous swing precision, making them an excellent teaching tool for improving skeet trajectory reading.
Choosing shells and managing the pattern
The shells used in skeet are generally loaded with finer shot than those used in trap, since shooting distances are shorter and a dense pattern with small-diameter pellets offers a better probability of hitting a clay crossing the field of view quickly. Shot sizes commonly used in skeet tend to be among the smaller numbers suited to short distances, but the exact choice varies according to competition rules and club preferences, so it’s better to check locally rather than rely on a universal rule.
The powder charge and muzzle velocity sought in skeet generally favor a fast-opening pattern rather than maximum range, unlike trap where the shell must retain its effectiveness at longer distance. This difference in logic explains why many regular shooters use shells specifically labeled “skeet” rather than general-purpose clay loads.
Felt recoil is an important factor in skeet since the shooting volume in a session is generally high: a full round of 25 clays with doubles already represents a substantial number of shots, and a training session can stack up several rounds. Choosing a shell suited to your build and your gun helps limit fatigue and maintain the quality of your movement over the whole session.
Shell prices vary widely by brand, gauge, and manufacturing quality, so it’s hard to give a reliable figure here: check directly with your gunsmith or your club to find out current prices suited to your training budget.
Stance, footing, and eye management
Stance in skeet differs noticeably from trap on several points. The feet are generally oriented toward the point where the shooter plans to engage the clay, not toward the house’s launch point. This postural anticipation allows a more natural torso pivot during the swing, without forcing excessive body rotation mid-movement.
The gun is often carried pre-mounted or semi-mounted depending on the target competition’s rules, the stock already close to the shoulder to reduce time to position. This practice varies by federation and competition category, so you should check the precise rules applicable to your discipline and level before training in a configuration that wouldn’t match the intended format.
Eye management plays a decisive role in skeet. Rather than fixing on the barrel or the clay’s launch point, the experienced shooter looks toward the zone where they plan to intercept the trajectory, while keeping broad peripheral vision on the clay’s path from its origin. This technique, sometimes called “looking ahead,” reduces the reaction time needed at the critical moment of the shot.
Body weight management, distributed slightly forward on the feet, favors a smooth pivot without loss of balance during the swing. Even slight imbalance generally results in a slowdown of movement at the exact moment speed is most needed, particularly at central stations like station 4.
Common beginner mistakes in skeet
The first classic mistake is fixing on the clay’s launch point rather than anticipating the engagement zone. A shooter who visually tracks the clay from the mouth of the house consistently ends up late on the swing, since they’re spending precious reaction time observing rather than acting.
The second frequent mistake concerns body movement: many beginners try to engage clays with an isolated arm movement, without involving torso and hip rotation. This approach sometimes works at peripheral stations where the angle is small, but consistently fails at central stations like 4, or 3 and 5, where the clay’s angular speed far exceeds what an arm movement alone can track.
The third classic trap concerns managing the double: wanting to rush the first clay to the point of not engaging it properly, in a panic about having to follow up with the second. Progressive training, isolating each clay of the double before assembling them, helps avoid this counterproductive rush.
Finally, many new skeet shooters overlook the importance of station 8, viewing it as an “easy” station because it’s close. It’s precisely that closeness that makes the available reaction time so short, and underestimating that constraint leads to frequent misses from lack of postural readiness before the clay is launched.
Progressing in skeet: training method
Progress in skeet generally comes through station-by-station breakdown rather than systematically running the full layout from the start. Working on each station in isolation, repeating the same trajectory several times in a row, builds motor memory specific to each angle before combining them in the regulation order.
A progressive training plan often starts with stations 1 and 7, the most accessible, before introducing stations 2 and 6, then 3 and 5, and finally station 4 and station 8, which demand the best execution speed. This progression respects the increasing difficulty identified above and avoids discouraging a beginner with the most demanding stations from the first sessions.
Dry practice, without shells, working on eye management and body pivot, is a practice frequently recommended by coaches to anchor the right movement before pairing it with the actual shot. This method lets you work on swing fluidity without the pressure of an immediate result on every clay.
Debriefing after each session, noting the stations where misses concentrated and the precise circumstances (high house, low house, double), helps identify recurring patterns rather than sticking with a general impression of the session. A logbook structured by station helps objectify progress over time, far more effectively than a simple overall feeling after each outing.
Cross-training with other clay disciplines, particularly sporting clays which presents more varied angles, can also strengthen swing versatility, even though each discipline keeps its own specifics that need to be reworked individually for competition.
Safety and group organization on the skeet layout
Skeet is almost always shot in a group, with several shooters rotating station by station in an order set before the round begins. This group organization requires strict safety discipline: gun broken open or hammer down until the shooter is on their station, barrel always pointed at a neutral zone, and waiting behind the line until it’s your turn.
Rotation through the eight stations follows a fixed regulation order, generally from station 1 to station 8 with doubles placed at specific points in the round. Each shooter in the group goes through each station before the whole group moves to the next one, which requires managing waiting time and staying focused despite the pauses between your own shots.
Verbal communication with the referee or machine operator is an essential safety element. The shooter clearly calls ready before the clay is launched, and any ambiguity must be resolved before continuing. This communication discipline, though simple in appearance, prevents clays launching at the wrong moment and rushed shots that degrade both safety and quality of movement.
Waiting areas behind each station must stay clear, and shooters not currently shooting keep a sufficient safety distance from the one who is, particularly because of skeet’s varied angles where ejected hulls and clay fragments can fly in different directions depending on the station in use. A serious club always reminds newcomers of these rules before their first session on the layout.
Handling gear between shooters also deserves particular care: check that the gun is empty and open before handing it over or setting it down, and never assume a gun resting on a rack is necessarily unloaded. This systematic check, repeated at every handling, is part of the basic reflexes every experienced coach instills from the first sessions.
Competition formats and reading the score
The most common competition format in skeet is shot over a round of 25 clays, spread across the eight stations with doubles placed at specific stations according to the rules in force. This round of 25 is the basic unit from which longer competitions are built, often organized as several rounds stacked over a single day or across multiple competition days.
The score is simply counted as clays broken out of clays presented, with no difficulty weighting between stations: a hit at station 1 counts the same as a hit at station 4, even though the technical difficulty differs clearly between the two. This simplicity of scoring encourages shooters to not neglect any station, including those wrongly considered easier.
In competition, mental management between stations becomes a performance factor in its own right. A shooter who misses a clay early in their round must manage to move on without letting that error affect their concentration on the following stations. A regional clay-shooting champion often stresses this point: the difference between a good score and an excellent score lies as much in managing misses as in pure shooting technique.
Ties at the end of a competition are generally settled through shoot-off rounds, where tied shooters take additional clays until a gap forms. This shoot-off format adds specific pressure, different from a normal round, since each clay takes on disproportionate importance relative to its weight in the initial score.
Competition rankings are generally organized by categories tied to age, gender, or shooter level, with precise rules that vary by organizing federation and event type. It’s best to check directly with your club or the relevant federation to find out the exact categories and rules applicable to the competition you’re targeting, since these rules can change from one season to the next.
FAQ
Q: What’s the main difference between skeet and trap? A: In trap, all clays launch forward from a single pit with unpredictable direction within a given angle. In skeet, two fixed houses throw trajectories known in advance, so the difficulty shifts toward timing and managing the crossing angle rather than directional uncertainty.
Q: Why is station 4 considered the hardest? A: Station 4 faces the crossing point of the two trajectories, where the clays cross the field of view at the angle closest to perpendicular. The effective shooting window there is the shortest of the layout, demanding the best shoulder speed and very precise anticipation.
Q: Do you need a different gun for skeet versus trap? A: Both disciplines use smoothbore guns, but with different setups: generally a shorter barrel and more open choke for skeet, suited to short distances, versus a longer barrel and tighter choke for trap for targets fired further out. Many regular shooters own a dedicated gun for each discipline.
Q: In what order should you shoot the two clays of a double? A: The order depends on the station: you generally deal first with the clay whose trajectory quickly becomes less favorable if you wait, and second with the one that stays workable longer. This order logically flips between stations near the high house and those near the low house.
Q: Is station 8 really the easiest on the layout? A: No, that’s a common beginner mistake. Station 8 is close to both houses so the trajectory is simple to read there, but the available reaction time is the shortest of the whole layout, making it a very demanding station in terms of execution speed.
Q: How long does it take to make significant progress in skeet? A: This varies enormously depending on training frequency, the shooter’s build, and prior gun experience. Steady progress generally comes through station-by-station work before running the full layout, rather than through a fixed, universal number of sessions.