
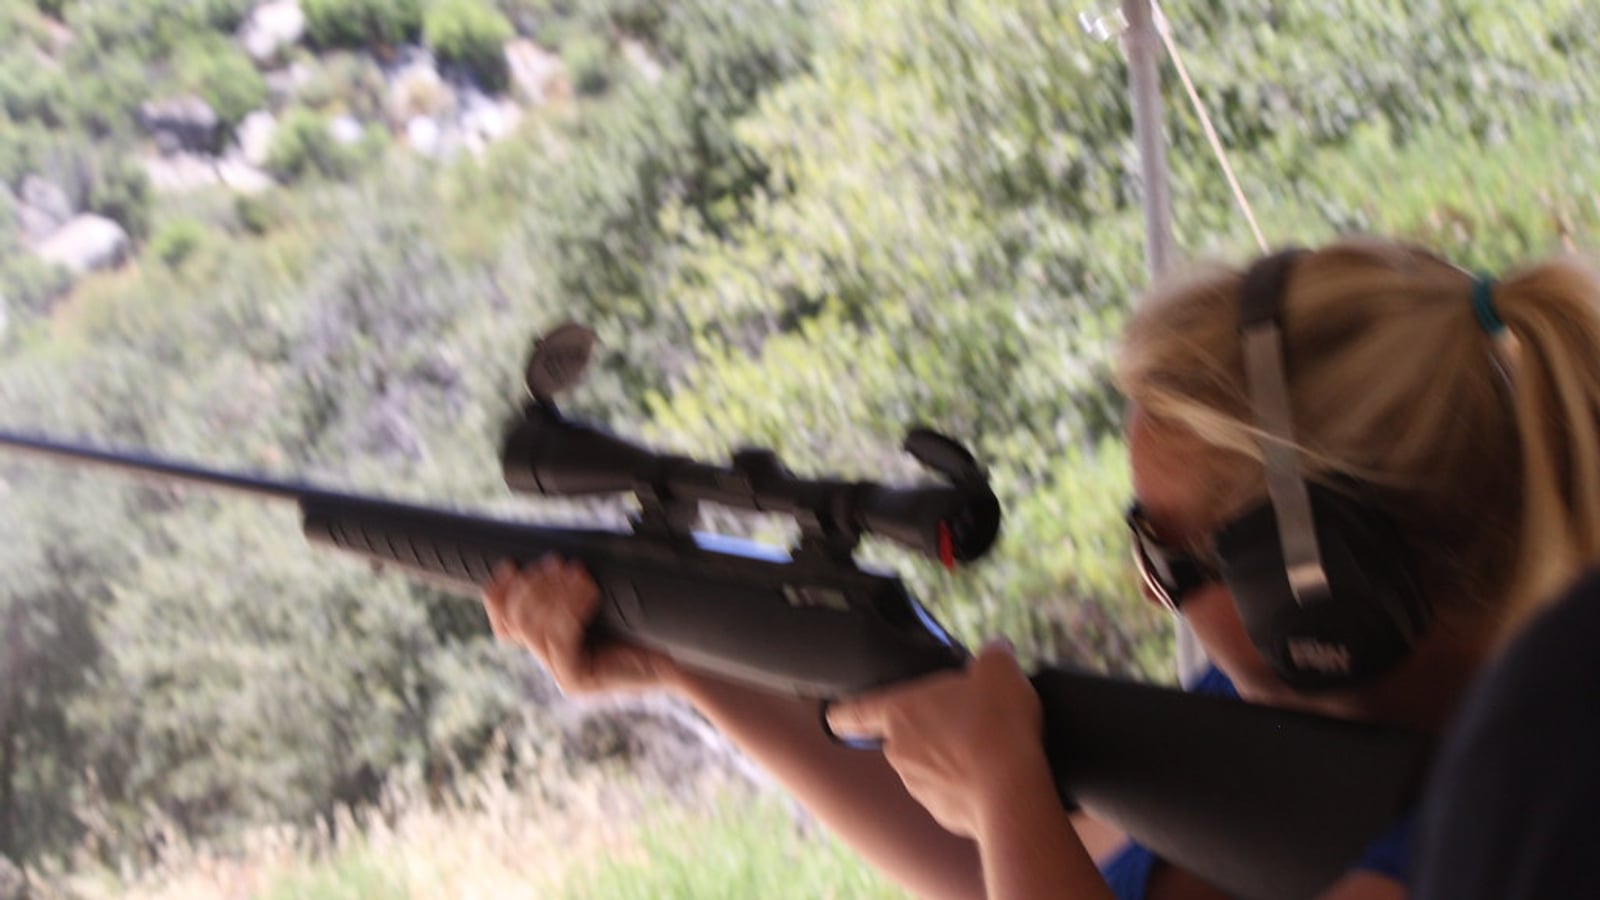
Why the sight picture changes everything
A shooter who’s progressing almost always plateaus at the same spot: they know how to hold the gun, they know their position, but they don’t know exactly where their eye should be at the moment of the shot. The result is groups that stay scattered without them understanding why.
The sight picture is the precise combination of what the eye needs to see right before the shot breaks: the relationship between the rear sight, the front sight (or the reticle), and the target. Every sighting system imposes its own picture, with its own rules of sharpness and visual priority.
Mixing up sight pictures between systems is the most common mistake among shooters who practice several disciplines. Someone used to iron sights who switches to a red dot often keeps unconsciously hunting for an alignment that no longer exists in that system — and vice versa.
This article breaks down each sight picture: iron sights, red dot, scope, and the subtleties that set them apart. The goal is simple: for your own gear, know exactly where your attention needs to be at the critical moment of the trigger break.
The principle common to every sighting system
Before detailing each system, you need to understand a principle that runs through all of them: the human eye can only focus sharply on one distance plane at a time. It cannot see the rear sight, the front sight, and the target all sharp at once, save for one exception we’ll look at later.
This optical principle explains why every sighting system imposes a hierarchy: one element sharp, the others blurred. The difference between iron sights, a red dot, and a scope is precisely which element stays sharp and which fades into the blur.
Understanding this hierarchy avoids a classic beginner mistake: trying to see everything sharp at once. That’s unnecessary tension that tires the eye, slows down the shot, and degrades accuracy instead of improving it.
A shooting log that notes the sighting system used each session helps you see objectively what’s working. A shooter who alternates between several guns with different sights benefits from logging impressions picture by picture rather than mixing up reference points across disciplines.
Front sight and rear aperture: the metallic sight picture, and why you never stare at the target
The front sight/aperture system (or peep sight) is the classic iron sight, used on both rifle and pistol. The aperture is the rear element, a piece pierced with a circular hole. The front sight is the front element, generally a post, cylinder, or ring depending on the discipline.
The fundamental rule of this sight picture: it’s the front sight that must stay sharp, centered inside the circle of the aperture. The aperture itself stays blurred at the periphery — the eye doesn’t focus on it directly, it’s only used as a peripheral reference frame.
Concretely, the eye should perceive a blurred ring (the aperture), a sharp, well-centered circle inside it (the front sight, or the front sight ring on a rifle), and the target completely blurred in the background. This hierarchy is counterintuitive for a beginner who naturally wants to stare at the target.
The centering of the front sight inside the aperture must be perfect and consistent, shot after shot: even a slight offset, especially at long range, translates into a proportional point-of-impact shift. That’s what makes this sight demanding but also extremely accurate once mastered, since it offers a very strict geometric reference.
On a pistol, the logic is slightly different: it’s the front-sight/rear-sight alignment that matters most, with the front sight centered and level in the rear sight notch, forming a straight line with equal light gaps on each side. The blurred target only serves as a backdrop onto which this sharp picture is superimposed.
This point deserves extra emphasis because it confuses beginners so much: when shooting with iron sights, visual attention and focus must be on the front sight, never on the target. It’s probably the hardest reflex to build in the entire learning process of precision shooting.
The explanation is mechanical. An alignment error between front sight and aperture multiplies with distance: a millimeter of offset at the front sight can mean several centimeters of offset on the target at 25 or 50 meters. Conversely, a blurred perception of the target has almost no impact on the result, as long as the aimed point stays consistent.
A shooter who stares at the target immediately loses the sharpness of their front sight, and with it, control of their alignment. The group widens even as the subjective feeling of “aiming well at the target” is deceptively reassuring.
The classic drill for building this reflex is dry firing — without ammunition — focusing solely on the sharpness of the front sight and the quality of its centering, without worrying about point of impact since there isn’t one. An experienced coach often has students repeat this drill over several sessions before even introducing live ammunition.
The red dot: a radically different logic, dot size and intensity
The red dot sight changes the game entirely. There are no longer two sighting elements to align with each other: a single point of light, optically projected, superimposes directly onto the target through a single lens.
With a well-adjusted red dot, the eye focuses directly on the target, not on the dot. The dot itself appears sharp, “floating” in the field of view regardless of the eye’s focus distance, thanks to its nature as a reticle projected at optical infinity. That’s the whole difference from iron sights.
This characteristic explains why the red dot is perceived as faster to use: there’s no sharpness hierarchy to manage between two distinct mechanical pieces, the eye focuses on the target and the dot naturally sits on it, provided the eye is well positioned in the optical axis of the sight.
The point of vigilance specific to this sight is called parallax. If the eye isn’t perfectly centered on the lens axis, the red dot can appear to shift slightly on the target even though the pistol or rifle hasn’t moved. A consistent head position and grip limit this phenomenon.
A frequent flaw among shooters coming from iron sights: they unconsciously try to “align” the red dot with something, when there’s nothing to align. The red dot lands on the aimed area, that’s it — no search for superposition with a second element.
Not all red dots display the same apparent size, expressed in MOA (minute of angle). A 2 MOA dot covers a smaller area of the target than a 6 MOA dot at the same distance, which directly affects perceived precision.
A finer dot favors precision on a fixed target at distance, because it obscures less of the aimed area. A larger dot favors faster visual acquisition, useful in dynamic shooting where speed of presentation matters more than surgical precision. The choice depends entirely on the discipline practiced.
The dot’s brightness must be adjusted to ambient light. A dot that’s too bright in low light produces a halo that obscures part of the target and degrades precision, a phenomenon sometimes called “blooming.” A dot that’s too dim in bright sunlight becomes hard to distinguish and slows down aiming.
The practical rule followed by most experienced shooters: set the intensity to the lowest level that still lets you see the dot clearly. Setting it too bright “just in case” is a common mistake that degrades precision without the shooter always noticing.
The scope: magnification and reticle
The riflescope introduces a third system, specific to distance shooting (rifle in particular). It combines optical magnification with a reticle that can take various forms: simple crosshair, center dot, or graduated reticle for range estimation or trajectory correction.
Unlike a classic red dot, a scope requires a real focus on the target through several lenses, with magnification that visually brings the target closer. The reticle, projected in the same focal plane or in a different one depending on the optical design, must stay sharp at the same time.
This dual sharpness requirement (reticle and target) is what makes scope adjustment so important. A diopter adjustment poorly matched to the shooter’s eyesight can make the reticle blurry even though the target looks sharp, or the reverse.
High magnification also amplifies the shooter’s micro-movements, which can create an impression of shaking that doesn’t exist with the naked eye or a red dot. This is a normal phenomenon you need to learn to manage, not a sign of poor gun handling.
With graduated reticles, the temptation is strong to want to use everything from the very first outing: range estimation, wind correction, bullet drop correction. It’s better to master the simple reticle first before exploiting the graduations, or you’ll multiply sources of error instead of reducing them.
The eye-sight-target triangle and eye dominance
Whatever the system, one constant remains: the position of the eye relative to the sight governs the entire quality of the sight picture. An eye that’s off-center, too close, or too far from the rear element produces a degraded picture, even with perfectly adjusted gear.
On iron sights, this position is called the natural point of aim reference: the head must land in the same spot on the stock or forend every time, so the eye consistently finds the same sighting axis without having to actively hunt for alignment.
On a red dot, this consistency is even more critical because of the parallax mentioned above. A head position that varies from shot to shot slightly shifts the dot on the target, which can wrongly suggest a sight adjustment problem when the flaw actually comes from the hold.
On a scope, eye relief must be respected precisely. Too close, the image shrinks into a black circle at the edges (“vignetting”). Too far, the image disappears entirely. This distance varies by scope model and magnification used.
A simple exercise lets you check the consistency of this triangle: close your eyes, get into position, then reopen your eyes and observe whether the sight picture already appears correctly centered without adjustment. If a head adjustment is needed every time, the position isn’t stabilized yet.
A topic closely tied to this eye-sight triangle deserves treatment right after: which eye to use, and whether to close the other one. The question of eye dominance (the eye the brain naturally favors for aiming) directly influences the quality of the perceived picture.
A right-handed shooter with a dominant left eye — a more common situation than people think — will run into alignment difficulties until they’ve identified this quirk. Simple tests, doable with your hands or a sheet of paper with a hole in it, determine eye dominance within seconds.
On red dot and scope, many experienced shooters shoot with both eyes open. This preserves peripheral vision and depth perception, useful in dynamic shooting to spot the next targets, and reduces eye fatigue over a long session. The brain gradually learns to ignore the image from the second eye and process only the one containing the dot or reticle.
On iron sights, shooting with one eye closed remains more common, especially in rifle prone position, where the sight configuration naturally lends itself to it. Some shooters use an opaque eye patch rather than closing the eye, which avoids the muscular fatigue of holding an eyelid shut for a long time.
There’s no universal answer for how many eyes to keep open: it depends on the sighting system, the discipline, and what each shooter manages to control without parasitic tension. An experienced coach generally adjusts this recommendation case by case rather than imposing a single rule.
Competition stress often disrupts this triangle so carefully built in training. Under pressure, an experienced club shooter can unwittingly fall back on old reflexes: neck tension that slightly shifts head position, or an involuntary closing of the eye usually kept open. This phenomenon is nothing abnormal, it simply signals that the movement wasn’t yet automated enough to withstand the mental load of a result at stake.
The best countermeasure remains to deliberately reproduce a form of pressure in training, for example by timing yourself or shooting in front of other club members, rather than discovering this vulnerability for the first time in a match. A shooting log that distinguishes calm training sessions from match-simulation sessions helps track whether this performance gap under pressure gradually shrinks.
The most common perception errors
Certain sight picture errors recur with striking regularity among shooters of all levels. The first is the target fixation mentioned above, which mostly affects beginners on iron sights but also some experienced shooters under competition stress.
The second frequent error concerns anticipatory blinking at the moment the shot breaks. This reflex, triggered by apprehension of the noise or recoil, cuts off visual information right before the most critical instant, preventing the shooter from confirming their alignment was correct at the break.
The third, more insidious error is letting visual concentration lapse once “it looks well aligned.” The sight picture must stay active through the entire trigger movement, not just up to the moment the shooter judges the alignment to look correct.
A fourth error, specific to the red dot, consists of chasing the dot as it wobbles slightly instead of accepting this natural movement and pressing the trigger while the dot stays within an acceptable zone around center. Wanting a perfectly still dot before firing often leads to hesitation that degrades the shot rather than improving it.
Noting in a shooting log which error recurs most often, session after session, lets you target training rather than working blind. A shooter who identifies that 70% of their misses come from anticipatory blinking can direct their entire dry-fire practice at that specific point instead of scattering their efforts.
Adapting your sight picture to the discipline, and properly zeroing your sight
The demands on a sight picture aren’t the same depending on the shooting context. In static precision shooting (10m, 50m, or 300m rifle, precision pistol), the quality and stability of the picture matter more than speed: the shooter has the time needed to check and recheck alignment before every shot.
In dynamic shooting on cardboard targets or metal plates, speed of picture acquisition becomes central. The red dot is heavily favored here precisely because it lets you move from one target to the next without having to realign two distinct sighting elements each time.
On the metal animal silhouettes used in some federation disciplines (chicken, pig, ram, turkey), the varying shape and size of each silhouette require adapting aiming precision to the vital zone that must be hit on each plate, generally smaller on the small silhouettes than on the large ones.
In very-long-range rifle shooting, a scope with a graduated reticle lets you compensate for bullet drop and wind drift, two phenomena that become significant past certain distances. This discipline demands fine mastery of the reticle, well beyond simple alignment.
No sight picture, however well understood, compensates for a poorly zeroed sight. Elevation and windage adjustment must be done methodically, generally in successive groups fired at a fixed distance, adjusting progressively until the group centers on the aimed point.
On iron sights, this adjustment is done with small screws or dials that move the front sight or aperture. On red dot and scope, similar adjustment turrets shift the position of the dot or reticle relative to the barrel.
An adjustment made with a given batch of ammunition or gun model may no longer be valid after even a slight change of ammunition or shooting distance. That’s why it’s better to recheck your zero at the start of the season or after any extended transport of the gun, rather than assuming it stays identical indefinitely.
A digital shooting log that archives settings by gun and by distance saves you from redoing this work from scratch every time you change configuration. It’s valuable information over the long run, especially for a shooter who owns several guns fitted with different sighting systems.
Training your eye without ammunition and managing visual fatigue
Dry firing (without ammunition, on a checked, unloaded gun) remains the most effective tool for specifically working on the sight picture, because it removes the variable of recoil and noise that disturbs visual perception for a beginner.
A simple exercise consists of aiming at a fixed point in your living room, consciously observing the sharpness of your front sight or the stability of your red dot, and pressing the trigger while continuing to watch the sight picture without interruption through to the end of the movement. This continuity of visual attention is exactly what’s most often missing in real conditions.
Filming your dry-fire session with a smartphone, or asking an experienced club shooter to observe your head position and the consistency of the eye-sight triangle, lets you catch flaws invisible to the person doing the shooting. The aiming eye can’t observe itself during the action.
Ten minutes of dry fire focused on the sight picture, several times a week, often produces more progress than one long session at the range, where fatigue and ammunition cost limit the number of truly conscious repetitions.
A sight picture that degrades over the course of a session isn’t always an equipment or technique problem: it’s often visual fatigue setting in. An eye that repeats the same focusing effort for an hour or two eventually loses precision, even in an experienced shooter.
This phenomenon is particularly marked with iron sights, where the eye has to constantly judge the sharpness of the front sight. Accumulated fatigue shows up as a picture that seems to “float” more than at the start of the session, or as a growing difficulty in judging whether the front sight is really centered in the aperture.
Blinking regularly between strings, rather than staring continuously at the sight, limits the eye dryness that heightens the sensation of blur. A pause of a few minutes every twenty to thirty minutes, eyes closed or looking off toward a distant point, also helps reset visual accommodation.
A shooter who wears vision correction (glasses or contacts) needs to make sure their correction is suited to the actual sighting distance used, which isn’t the same as the one used for reading or driving. A correction designed for distance vision can, for example, make the front sight blurry on iron sights, where the eye needs to focus at a precise intermediate distance. An optician familiar with shooters’ needs can point you toward specific lenses if blur persists despite good technique.
Light, weather, and maintaining your sighting equipment
Lighting conditions radically change the legibility of every sighting system, a factor too often ignored until it’s actually experienced on an outdoor range. A classic black front sight becomes hard to distinguish against a dark target on an overcast day, just as a poorly adjusted red dot can disappear in direct sunlight.
Backlighting is particularly tricky: a shooter facing the sun, or shooting late in the day with raking light, sees their front sight turn into a plain dark silhouette with no relief, which complicates judging exact centering. Some front sights come in versions with a colored insert (red, green, or yellow fiber optic), precisely to improve contrast under these conditions.
Rain or ambient humidity poses a different problem: fog on a red dot or scope lens can build up gradually without the shooter noticing right away, degrading perceived sharpness with no link to a technique flaw. A dedicated microfiber cloth, kept dry, avoids making the problem worse by wiping the lens with an unsuitable cloth that scratches the optical coating.
Indoors, under artificial lighting, the question is different: the light is stable from one session to the next, which lets you set a consistent red dot brightness. Outdoors, it’s better to treat this setting as variable and get in the habit of adjusting it on arrival at the range rather than setting it once and for all.
A sharp sight picture also depends, very concretely, on the cleanliness and condition of the equipment used. A front sight fouled with powder residue, an aperture whose hole is partly clogged with dust, or a red dot lens marked with fingerprints all degrade picture quality without the shooter immediately thinking of this simple cause.
Cleaning your sights is part of routine maintenance after every session, just like cleaning the barrel. A soft, dry cloth is usually enough for optical lenses; using solvents is only recommended if the sight manufacturer explicitly allows it, to avoid damaging anti-reflective coatings.
A red dot’s battery deserves particular vigilance: a weakening battery doesn’t always die all at once, it can first dim the dot’s intensity gradually and almost imperceptibly, which can wrongly suggest a brightness setting problem. Checking or replacing the battery at the start of the season, or even keeping a spare in your range bag, avoids a bad surprise in the middle of a match.
Adjustment screws on turrets, on both scopes and red dots, can loosen slightly from repeated recoil vibration. A regular visual check, and a bit of thread locker if the manufacturer recommends it, limits the risk of a zero validated in a previous session having shifted with no visible sign to the shooter before they start grouping wider than usual.
The special case of the crossbow, and progressing step by step
Sport crossbow deserves a separate mention, since its sighting elements follow logics already covered while adapting them to a different eye contact with the scope or iron sights, due to the shooting position specific to this discipline. An aperture sight can be fitted there following a logic very close to that used on a rifle, with the same sharpness rules on the front element.
Sighting distance in crossbow (10 meters or 30 meters depending on the event) directly influences the choice of system: at short distance, a simple notch is often enough, whereas at thirty meters the use of more elaborate elements, even a scope depending on the event’s rules, becomes relevant to refine centering.
Shooting position in crossbow, often more static and settled than that of a firearm, leaves more time to check alignment before releasing the bolt. That doesn’t stop the same perception errors from setting in, notably target fixation instead of focusing on the front sight, a reflex that affects this discipline just as much as any other.
To progress across all these systems, an experienced club shooter generally recommends not trying to master everything in a single session. The first step is being able to recognize, without any equipment, what a correct sight picture looks like for your system: which element must be sharp, which must be blurred, and where attention should go.
The second step is reproducing that picture in a stable way, statically, with no time or result pressure: simply aiming at a fixed point and checking that the resulting picture matches the theory you’ve learned. This phase is best practiced dry, without ammunition, as mentioned above.
The third step introduces the trigger movement while the sight picture stays stable, which is often the moment previously invisible flaws (blinking, lapses in attention) reappear. That’s normal: adding one more variable reveals weaknesses that weren’t visible at the previous step.
The fourth step, finally, consists of recovering that same picture quality under the pressure of a real session or competition context, where fatigue, limited time, and the stakes of the result disturb the whole process. A regional champion often insists on this point: technique acquired in training must be tested under degraded conditions before being considered truly acquired.
Logging your progress through these four steps in a shooting log, rather than relying on a vague overall impression that “things are getting better,” lets you pinpoint exactly which step a shooter is still stuck at, and so focus the next training block on that exact point instead of endlessly repeating what’s already mastered.
Switching sighting systems, and choosing wisely based on budget
A shooter switching from a gun fitted with iron sights to one fitted with a red dot, or the reverse, almost always feels an adjustment phase where their groups temporarily worsen. This isn’t a drop in skill level, it’s the direct consequence of a change in sharpness hierarchy that the eye and brain have to relearn.
The most frequent difficulty in this direction of transition (iron sights to red dot) is precisely continuing to hunt for a second element to align, when the red dot only has one. Conversely, a shooter used to a red dot who picks up iron sights again often tends to stare at the target out of habit, forgetting they now need to shift their attention back to the front sight.
Switching back and forth repeatedly between two sighting systems over the same training period generally slows progress on both. An experienced coach often advises devoting a block of several sessions to a single system before introducing the other, rather than alternating every outing, until each sight picture becomes a stable reflex rather than a conscious thought process.
A shooting log that clearly separates sessions by sighting system used helps measure this adaptation curve objectively, rather than mixing results from two different techniques into a single average that would reflect neither correctly.
Choosing a sighting system isn’t purely technical, it also depends on very concrete constraints of budget and equipment availability. Iron sights come standard on the vast majority of sport shooting guns, making them the natural starting point for a beginner with no extra investment required.
A red dot represents an additional cost, variable depending on the range and brand, and often requires adding a mount or rail compatible with the gun used. This mounting must be done carefully: a poorly fitted red dot, even a quality one, will produce a sight picture that gradually shifts due to mechanical play in the mount rather than because of a genuine adjustment issue.
A scope generally involves an even bigger investment, especially for high-magnification models or quality graduated reticles. Before investing in high-end equipment, it’s better to have practiced enough with simpler gear to precisely identify your own needs: the magnification actually useful for your discipline, the reticle type suited to the distances you practice, rather than relying solely on commercially highlighted features.
Borrowing equipment at a club, where available, often lets you test different sighting systems before buying, which limits the risk of investing in gear that turns out poorly suited to your practice or build. A club coach usually knows the locally available options well and can guide this choice depending on the discipline targeted and the budget available, which varies widely from one shooter and one club to another.
FAQ
Q: With iron sights, should I look at the target or the front sight? A: The front sight, always. It’s the one that must stay sharp and centered in the aperture, the target stays deliberately blurred in the background. This rule is the foundation of all accuracy with an iron sight.
Q: Why does my red dot seem to move when I’m not moving the gun? A: It’s probably a parallax effect linked to your eye not being centered in the optical axis of the sight. Check the consistency of your head position and grip rather than the red dot’s own adjustment.
Q: Is a smaller red dot always more precise? A: A finer dot obscures less of the target and favors precision on a fixed target at distance, but a larger dot makes for faster acquisition in dynamic shooting. The choice depends on the discipline practiced, not on an absolute rule.
Q: Can you shoot with both eyes open using a scope? A: Some experienced shooters manage it, notably to preserve peripheral vision, but it requires gradual training. Others prefer to close the non-dominant eye or use an eye patch, without either method being universally superior.
Q: Does dry firing really help improve the sight picture? A: Yes, because it removes the variable of recoil and noise and lets you focus solely on the sharpness and consistency of your alignment. It’s one of the most rewarding drills for making quick progress on this specific point.
Q: Do I need to re-zero my sight often? A: It depends on the equipment and how it’s used, but a check at the start of the season or after extended transport of the gun is a good habit. A change of ammunition can also slightly shift the point of impact and justify a check.