
The Principle Nobody Says Enough
A good shooting position is not muscular. It is skeletal. Your bones carry the rifle, your muscles exist to adjust them — not to hold them. If you shoot with force, you tremble. If you shoot with balance, you can stay still for three minutes.
This changes everything. Learn it once, apply it in the three positions below.
Standing (10m air rifle, 25m pistol)
Feet parallel or slightly open, shoulder width apart. Weight equally distributed on both feet. Knees unlocked but not bent. The pelvis slightly back counterbalances the weight of the rifle extended in front.
The shooting arm extends the rifle — not locked, not bent. The elbow is in natural extension. The wrist is firm but not tense. The free hand is placed at the hip or in the pocket for 25m pistol. In standing rifle, it stabilizes at the magazine level or on the rifle’s forend.
The secret: the skeletal line, from the shoulder blade to the target, must pass through the scope or sights. If you have to push or pull to aim, your position is wrong. Reposition yourself.
Simple test: close your eyes for 5 seconds in shooting position. Open them. If the rifle is still on target, your position is correct. If it has drifted, your muscles were compensating — you will tremble.
Kneeling (rifle, biathlon, military sport shooting)
Front leg knee at 90°. Rear thigh on the ground, rear foot under the buttocks (sitting on the heel, not the toe). Elbow rested on the front thigh — NEVER on the kneecap (unstable), always on the quadriceps close to the knee.
The classic trap: beginners place the elbow on the kneecap. That is as unstable as a compass on a ball. Find the position where the elbow rests on muscle mass, 2-3 cm before the kneecap. You immediately feel the stability.
The kneeling position is less stable than prone but allows for quick positioning in uneven terrain. Widely used in biathlon, military sport shooting, and PRS on dynamic stages.
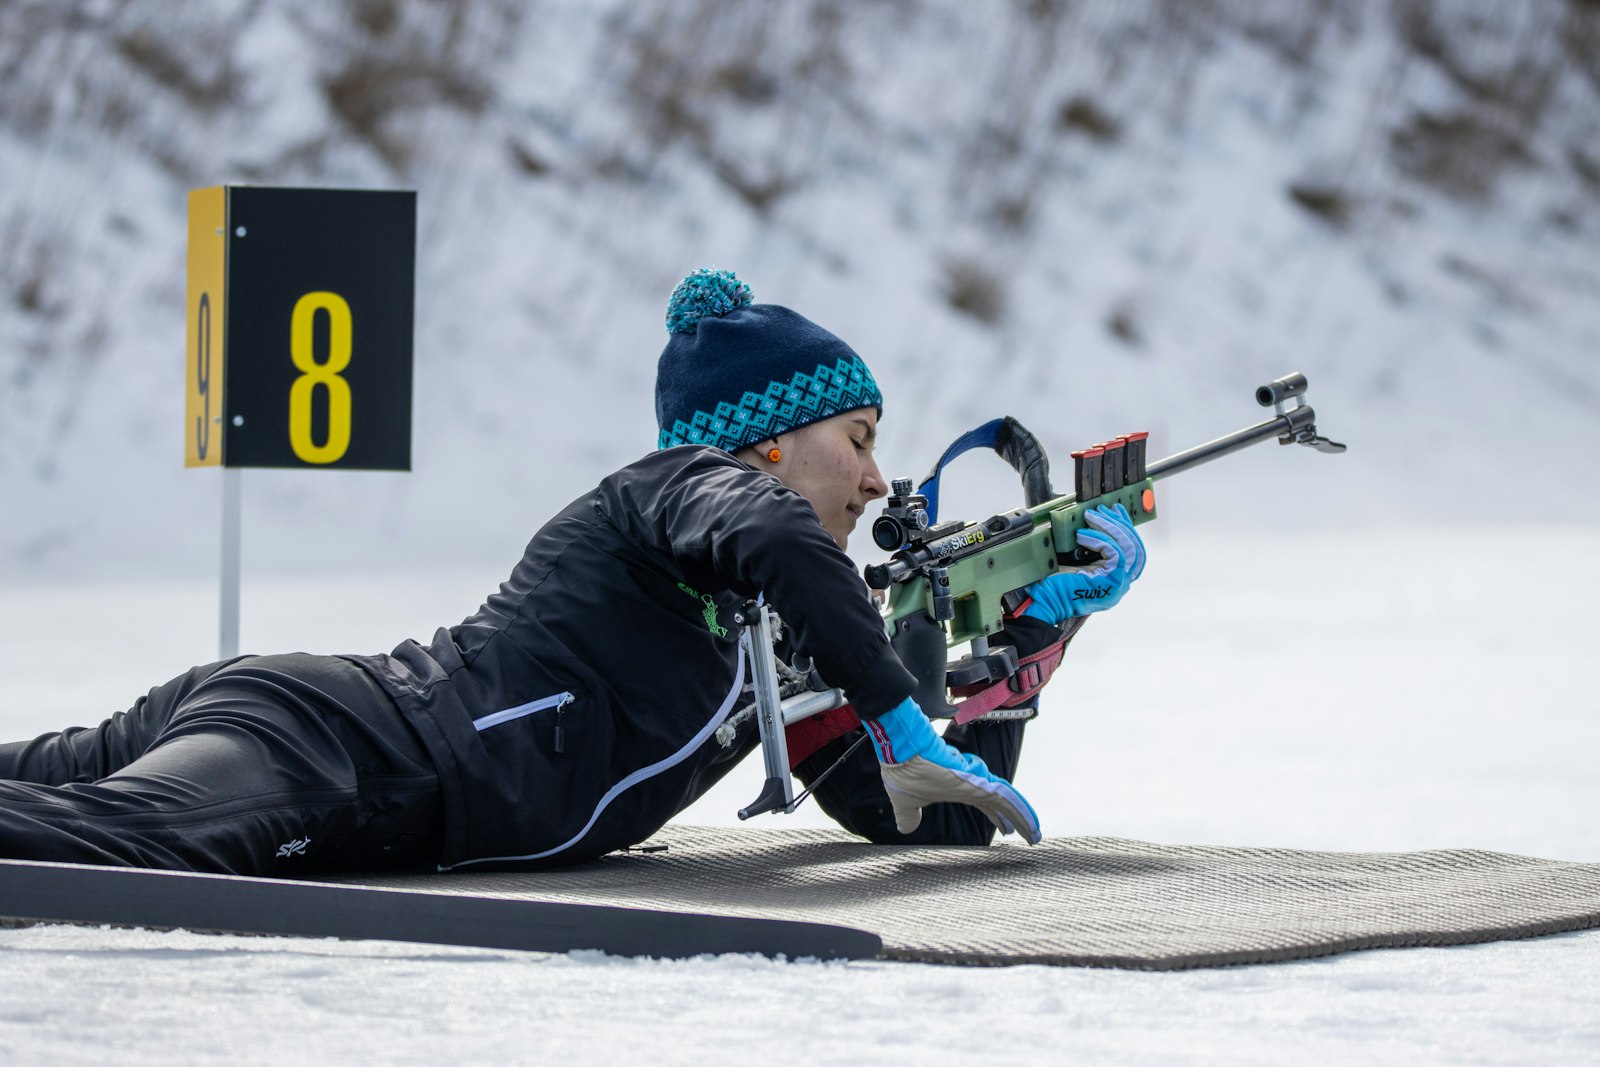
Prone (50m rifle, 100m+ centerfire, PRS)
The most stable position. Three key points:
-
The angle of the body to the line of fire: not perpendicular (strains the neck), not parallel (unstable). Aim for 15-25° angle. The body forms a diagonal to the target.
-
The bipod or sling: with bipod, you load slightly forward (“loading the bipod”) to eliminate bounce. With sling, you tighten the sling so the rifle is “pulled” against your shoulder without arm effort.
-
The stock against the cheek: firm and constant contact. If you lift your head between shots, you change your impact point. Stay pressed.
Legs are spread, feet turned outward (heels on ground to absorb recoil). The shooting elbow stabilizes, the free elbow supports the rest or sling.
The Rule Common to All Three Positions
Before each shot: verify that your “natural” impact point is on the target, without correction. If you have to force your angle at the moment of firing, your position is wrong. You adjust by repositioning your body, not by moving the rifle.
This rule is true for 10m air rifle just as it is for .338 Lapua at 1,000m. It is universal.
Three Classic Traps
- Forcing the position to reach a “borderline” target. You will tremble and miss. Reposition your body. It is three seconds — you make up for it in accuracy.
- Shoulder tension in standing position. The tension rises without you noticing over successive shots. Take a break, lower the rifle, shake out your shoulders every 5-10 rounds.
- Kneeling position with elbow on kneecap. A beginner mistake that survives to competition. Elbow on muscle, always.
FAQ
Q: How long does it take to automate a position? A: 2,000 to 5,000 repetitions. You can achieve it in 6 months if you shoot 2-3 times a week, or 2 years if you shoot once a month. Dry fire counts — do it at home in front of a wall, 10 minutes every evening. Note the position worked on in your shooting log to track progress position by position.
Q: Do I need an instructor to learn positions? A: At least a few sessions. A YouTube video will show you the form — an instructor will correct the 5 micro-faults you make without knowing it. Invest in 5 sessions before firing 5,000 rounds.
Q: Does position depend on morphology? A: Yes, to some extent. The skeletal principles are universal, but precise angles vary based on arm length, flexibility, and mass. Find YOUR position, not THE position from the book.
And After?
A position is evaluated over dozens of sessions, not on today’s mood. Note for each session the dominant position, the feel, the score: your PewPewLife digital shooting log then shows you where your prone position beats all others, or where your standing position plateaus. Without this tracking, you improve randomly.
For Further Reading
- Breathing and Trigger Control
- How to Choose Your First Rifle
- Mental Preparation and Competition Focus