
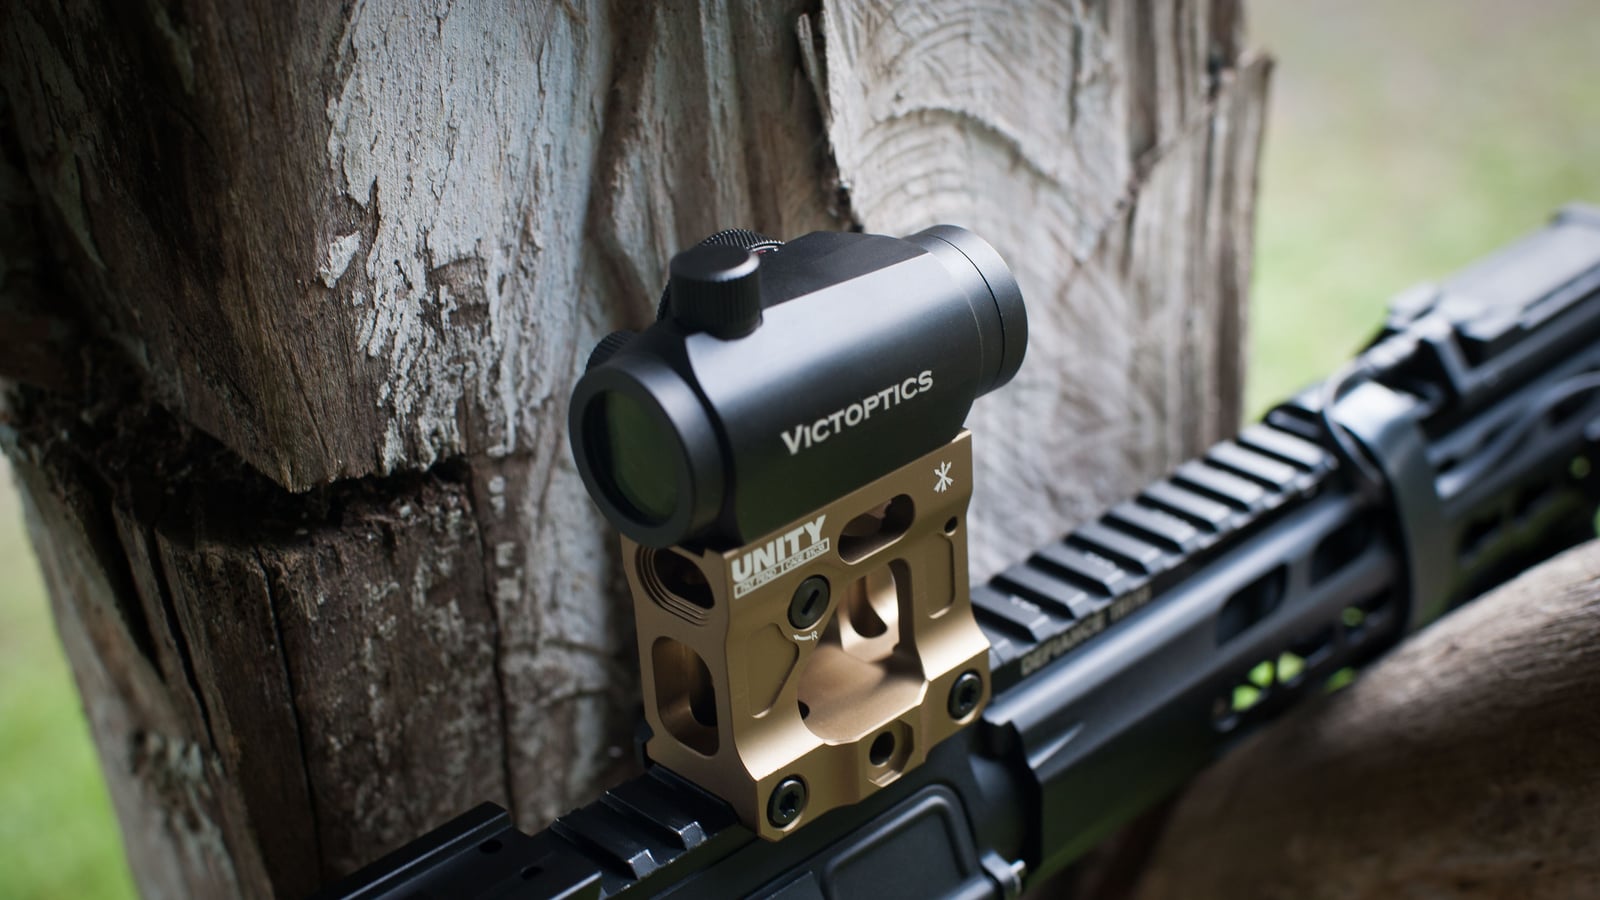
Why your red dot sometimes lies to you
You mount a red dot thinking the dot you see is always exactly where the bullet will go. That’s not true in certain conditions, and that’s where parallax comes into play. Understanding this phenomenon directly improves your precision, especially in shooting positions where your head isn’t perfectly aligned behind the optic.
A misunderstood red dot leads a shooter to doubt their gear when the real issue is actually their sighting position. Many shooters swap optics, swap ammo, and second-guess their trigger, when the real problem comes down to three adjustments never done properly: parallax, mount height, and brightness intensity.
This guide covers these three concepts in detail, with practical tests you can run yourself on your own gear, without unnecessary jargon. Three technical settings, zero mystery once properly explained, and a real impact on the consistency of your groups.
The goal isn’t to sell you a pricier new red dot. It’s to teach you to get the most out of the gear you already own, by understanding exactly how it works and where its real physical limits lie.
What parallax actually is
Parallax refers to the apparent shift of the red dot relative to the target when you move your head laterally or vertically behind the optic, without moving the gun. On a red dot without parallax compensation, if your eye isn’t perfectly centered in the tube or behind the lens, the dot can appear slightly offset from its real position.
This is a purely optical phenomenon, tied to how the dot’s light (an LED reflected off a coated lens) travels through the sight axis. It has nothing to do with a mechanical defect in the gun or an ammunition issue: it’s an intrinsic characteristic of the optical design, present to varying degrees in every red dot on the market.
Most reflex-style red dots (Aimpoint, Holosun, Vortex, EOTech) are designed to be “parallax-free” or “minimal parallax” at a reference distance, often 50 to 100 meters depending on the model and manufacturer. Below or above that reference distance, a slight optical offset can appear, especially at short range where the effect is more visible relative to target size.
What matters in practice: on a quality, well-adjusted red dot, a dot placed on the target hits the target, even if your eye isn’t perfectly centered in the optical window. That’s the main advantage of this technology over a classic magnified scope, which requires much stricter eye alignment behind the eyepiece. The real, visibly noticeable parallax problem mostly shows up on entry-level gear or units poorly calibrated at the factory.
To understand why some red dots handle parallax better than others, you need to look at the optical design itself. A “tube”-style red dot (a classic Aimpoint, for example) uses a collimated lens that theoretically projects the dot at optical infinity, which strongly reduces perceived parallax across a wide range of distances.
An “open-window reflex”-style red dot (like a slide-mount for a handgun, or a mini red dot) uses a smaller, semi-reflective mirror. The more compact geometry of this type of optic can introduce more apparent offset if the eye isn’t centered, particularly on entry-level models where the optical coating is less refined.
Glass quality, anti-reflective coating, and the manufacturing precision of the mirror play a direct role in reducing this effect. That’s one reason why two seemingly similar red dots on paper can feel very different when shooting, not because of a brand’s marketing power but because of real engineering choices.
Before blaming parallax, rule out the more common causes of inaccuracy: a poorly zeroed gun, inconsistent ammunition, a grip error, or trigger control issues. Parallax is often wrongly invoked by shooters looking for an appealing technical explanation for a much more mundane fundamentals problem.
To actually test your optic’s parallax: rest the gun on a stable support (shooting bag, locked bipod, vise if you have access to an equipped range), place the red dot on a precise, stationary target, then deliberately move your head one centimeter to each side, then up and down, without touching the gun or the support.
If the dot visually stays on the same area of the target during this head movement, your optic handles parallax well at this test distance. If the dot appears to “slide” across the target following your eye’s movement, you’ve identified a real, measurable parallax offset.
Repeat this test at several distances if possible: 10 meters, 25 meters, 50 meters. You’ll get a personal map of your optic, far more useful than any generic spec sheet. Some red dots perform very well at 25 meters but show a slight offset at 10 meters, which is consistent with their design reference distance.
This simple test, done once with your own gear, saves you years of needless doubt. Many shooters have never done it and blame their optic for groups that actually come from somewhere else: inconsistent grip, trigger jerk, or inconsistent ammo quality.
On a target at 25 meters, a typical parallax offset on a poorly centered entry-level optic can amount to a few millimeters to a centimeter, rarely more on decent gear. That sounds negligible, but in a precision discipline where every millimeter counts to separate scores, it’s not trivial.
In a dynamic discipline where the target is a large cardboard sheet or a metal plate engaged quickly, that difference is completely invisible in the final result. That’s one reason why parallax worries precision shooters more than dynamic shooters, and it makes sense: precision requirements aren’t the same depending on the discipline practiced.
You also need to distinguish “instantaneous” parallax (the offset visible during head movement) from its actual impact on the shot. In practice, most shooters stabilize their position before pressing the trigger, which mechanically reduces the effect of parallax at the exact moment the shot breaks, even if a slight head movement existed just before.
Mount height: understanding co-witness
Co-witness is the alignment between your mechanical sights (front and rear) and your red dot, seen simultaneously through the optic’s window. This concept mainly concerns rifles and carbines fitted with both a red dot and backup sights, a common setup in dynamic shooting and on civilian service-style carbines.
The idea behind co-witness is simple: in case of a dead battery or a broken optic mid-match, you can keep aiming with your mechanical sights without changing your shooting position or wasting time removing anything. It’s a practical safety net as much as a sighting comfort choice.
Three configurations exist, each with its own advantages and trade-offs:
- Absolute co-witness (or “lower 1/3”): the mechanical sights appear in the lower third of the red dot’s window. The red dot is mounted higher, on a raised rail, to clear the view and keep the dot fully visible without the mechanical sights in the direct field of view.
- Total co-witness: the mechanical sights overlap exactly with the red dot, at the same optical level. Low, compact mounting, closer to the barrel axis, but it can hinder dot readability depending on the optic model and the fineness of the mechanical sights used.
- No co-witness: no mechanical sights visible in the window, often because the gun has no mechanical sights at all, or because the chosen mount height deliberately doesn’t allow it.
The choice depends on your discipline and personal practice. In dynamic shooting on cardboard targets or metal plates, lower 1/3 co-witness is often preferred because it leaves the red dot fully clear for fast acquisition, while keeping a mechanical backup accessible in case of a battery failure mid-course.
Absolute co-witness, with its raised mount, has a drawback that’s often forgotten: the higher the red dot sits relative to the barrel axis, the larger the gap between the line of sight and the bullet’s actual trajectory at short range. This offset, sometimes called “height over bore,” is corrected by zeroing but remains a parameter worth knowing, especially if you shoot a lot under 10 meters.
Total co-witness limits this offset by bringing the optic closer to the barrel axis, which simplifies ballistics at short range. In exchange, some red dot models with a bulky housing make viewing the mechanical sights harder in total configuration, since the visual space is more cluttered.
No co-witness, finally, isn’t a bad choice in itself. On a gun dedicated exclusively to the red dot, with no mechanical sights installed, or with folding sights not used day-to-day, this choice simplifies the mount and reduces the overall weight of the sighting system. It’s a relevant choice for anyone who prioritizes lightness and doesn’t need an immediate backup solution.
Why mount height changes your shooting position
A higher or lower mount height directly changes the angle between your eye, the stock, and the optic. If the red dot sits too high relative to your eye’s natural line when the stock is properly shouldered, you’re forced to lift your head, which breaks what’s informally called the “chin weld,” the natural placement of the cheek on the stock.
This break in position slows down your sight acquisition on every repetition and fatigues your neck over a long training session or a competition lasting several hours. A shooter who has to constantly adjust their head to find the dot again loses fluidity and acquisition speed, two essential qualities in both dynamic and precision shooting.
Conversely, a mount that’s too low forces you to lower your head excessively toward the stock, which compresses your breathing and reduces your peripheral field of view, an important factor in dynamic shooting where awareness of your surroundings matters as much as raw precision on the targeted point.
The goal is to find the height where, shouldering naturally without forcing the position of your head or neck, your eye falls directly into the red dot’s axis as soon as you shoulder the gun. This is what’s called a “natural” sighting position: you’re not searching for the dot, it’s already there when you raise the gun.
To assess your natural position without any special gear, there’s a simple exercise: close your eyes, shoulder the gun normally as you would in a match, hold the position for a few seconds, then open your eyes without moving your head. Look at where your eye falls relative to the axis of the already-mounted optic.
If your eye naturally falls into the red dot’s axis, your current mount height suits you. If you have to raise or lower your head to find the dot again, that indicates a mismatch between the mount height and your personal build, particularly the height of your cheek riser.
This optimal height depends on several combined factors: the height of the stock’s cheek riser, the type of rail used (original low rail or an added raised rail), the thickness of the optic’s housing itself, and of course your own build (neck length, natural head position). An experienced coach at your club can help you objectively assess your natural shooting position before choosing a final mount, since it’s often hard to judge your own position without an outside eye.
This adjustment is worth taking seriously from the start. A poor mount height, even seemingly minor, costs you in sighting consistency over an entire competition season, in cumulative fatigue, and sometimes in neck pain for shooters who train intensively.
Many modern rifles, particularly sport or dynamic-configuration rifles, offer a stock with an adjustable cheek riser, sometimes adjustable in depth as well. This component matters just as much as the optic’s mount itself: there’s no point choosing a perfect mount if the cheek riser can’t naturally bring your eye up to that height.
The adjustment is generally done in this order: first adjust the cheek riser for a comfortable, repeatable head position, then choose the optic’s mount height based on that already-fixed position. Doing it the other way around, adapting your head to a fixed mount, often leads to a forced, uncomfortable position over time.
If your stock doesn’t have an adjustable cheek riser, solutions exist: aftermarket cheek pads, foam shims, or a stock cover with a built-in riser. These simple accessories let you adjust cheek-weld height without changing the whole stock, a worthwhile option before investing in more expensive equipment.
Setting your brightness intensity: the classic trap
The most common mistake with a red dot is setting the intensity once indoors at the time of purchase, and never touching it again afterward. Yet the optimal brightness intensity changes radically depending on ambient light, and a poor setting directly degrades your real accuracy on the range.
A red dot set too bright in broad daylight visually “blooms”: the dot looks huge, blurry at the edges, and can even obscure part of the target at long range. This phenomenon is commonly called “bloom” or halo effect. It creates a false impression of precision when the real, physical dot projected by the optic is much smaller than what you perceive visually under those conditions.
Conversely, a dot set too dim indoors or under heavy overcast becomes hard to distinguish, especially against a dark background or a low-contrast target. You then lose precious time visually searching for the dot instead of aiming directly, which is particularly costly in timed shooting where every second counts toward the final result.
Bloom isn’t a manufacturing defect: it’s a purely optical effect tied to human perception of a point light source that’s too intense relative to its surroundings. The human eye “sees” a bright point as larger than it really is when the contrast with the background is too strong, a phenomenon well documented in physiological optics.
So it’s not your optic projecting a wider dot at high intensity, it’s your visual perception artificially enlarging it. Understanding this distinction helps you accept that you need to actively adjust intensity rather than look for a universal setting that would suit every lighting situation.
This phenomenon also explains why some shooters think their red dot “grows” as the battery ages or the optic wears: in reality, it’s almost always an intensity setting poorly matched to the current ambient light, not an actual degradation of the gear.
The most reliable benchmark for a correct setting: adjust intensity so the dot is instantly visible as soon as you shoulder the gun, but always smaller and sharper than what you’d perceive if it were set too bright. A good, well-adjusted red dot should look almost understated on the target, never overwhelming.
On a range in full sun, gradually increase intensity until you clearly see the dot without it glaring or obscuring part of the target. Indoors or in low light, bring intensity down significantly, often several clicks compared to your full-sun setting, sometimes down to the lowest available setting on your optic.
Many modern optics offer an automatic mode that adjusts intensity via an ambient light sensor built into the housing. This is convenient for versatile use and for shooters who often change shooting environments without time to manually readjust each time.
Some competitive shooters still prefer manual control to keep full command over their perception of the dot, particularly during rapid condition changes, like moving from a shaded area to a sunlit area on the same dynamic course. Auto mode can have a slight lag when light changes abruptly, which bothers some shooters who are very demanding on this detail.
Get in the habit of checking your intensity every time you change shooting location, not just when you first take the gun out of the range bag. This simple reflex, which takes two seconds, avoids many missed shots at the start of a string and saves you from discovering a bad setting only after several missed shots.
Optimal intensity doesn’t depend solely on ambient light: it also depends on the contrast between your target and its background. A light-colored target on a dark background (like a white cardboard target in front of an earth berm) often needs a different intensity than a dark target on a light background.
On the metal animal silhouettes used in FFTir-style disciplines (chicken, pig, turkey, ram), the metal’s reflective surface can create glare that makes the dot harder to distinguish depending on the sun’s angle. In that case, a slight reduction in intensity compared to your usual setting can improve dot readability on that particular surface.
On the colored plates used in some short-range events, the highly contrasted background can, conversely, require a slightly higher intensity so the dot stays visible without blending into the target’s bright colors. There’s no universal rule here: it’s an empirical adjustment you refine with experience on your own familiar targets.
Batteries and reliability: a setting too often overlooked
A red dot that’s misbehaving isn’t always a parallax or mount-height problem: a weak battery changes the maximum available intensity and can distort your perception of the optimal setting without you immediately realizing it. If your dot seems duller than usual despite an identical intensity setting to what you used before, check the battery’s condition before questioning the mount or the optic itself.
Many experienced shooters systematically change the battery as a precaution before an important competition, even if the old one still seems to work normally to the eye. It’s a simple, cheap habit that avoids an unpleasant surprise mid-match, where a battery dying at the worst possible moment can ruin an entire string.
Some models have a manufacturer-stated battery life in the tens of thousands of hours, but that duration varies significantly depending on the intensity used continuously and the ambient storage and usage temperature. Stay general on this point rather than blindly trusting an exact figure printed on the box: check the real state of your battery yourself regularly with a tester, or by observing the dot’s brightness at startup.
A practical tip that comes up often among experienced shooters: always keep a spare battery of the right size in your range bag, with the purchase date noted on it in marker. This small habit keeps you from being stuck without a solution on competition day, far from any store.
Many modern red dots include an automatic shutoff function after a period of inactivity (often several hours, or detected via a motion sensor). This function extends battery life but can also surprise a shooter who picks the gun back up after a break without checking whether the optic is still on.
Get in the habit of visually checking that your red dot is active before every string of fire, especially after a long break between two relays in competition. This check takes a second and avoids the discomfort of raising the gun thinking you’re aiming, only to discover the optic shut itself off automatically in the meantime.
Some high-end models use technology that maintains a very low level of intensity continuously, with no classic on/off switch, which eliminates this risk of forgetting but consumes the battery differently. Look into your specific model’s behavior rather than assuming it works the same way as a clubmate’s.
Checking your zero after every mount change
As soon as you change your red dot’s mount height, whether to adjust co-witness, switch rails, or simply remount the optic after maintenance, your zero is no longer valid. The bullet’s actual point of impact on the target obviously doesn’t physically move, but the sighting angle between the optic’s axis and the barrel’s axis changes as soon as you shift the housing, even by a few millimeters.
Always go through a complete zeroing session after any mount change: a few grouped shots at a known, stable reference distance, precise adjustment of the optic’s turrets based on the observed offset, then confirmation with a second group to validate the setting. Never trust an “eyeballed” adjustment based on the old mount point or your memory of a previous setting.
This verification habit also applies after transporting the gun in a hard case over a long distance by car or plane, or after a complete teardown for deep cleaning. A mount that has shifted slightly, even in a way that’s completely invisible to the naked eye on the housing, is enough to shift your actual point of impact by several centimeters at medium range, a difference that can make all the difference between a good string and a bad one.
Zeroing is ideally done on a stable support, shooting bag, or locked bipod, never freehand if you want a usable result. Start with a group of several shots, not a single isolated shot: one shot alone tells you nothing about the real dispersion of your gun and ammunition.
Observe the center of the resulting group relative to the aimed point, then adjust the optic’s turrets according to the manufacturer’s stated graduations (often in fractions of a centimeter or MOA per click, depending on the model). Stay general about the exact value of a click if you don’t have the manual on hand: every optic has its own graduation, and getting this value wrong ruins the entire adjustment.
Shoot a second group after adjusting to confirm the point of impact now matches the aimed point. Never stop after a single adjustment without verification: that’s the guarantee of a reliable zero rather than an approximate one that will betray you at the worst possible moment in competition.
Parallax and distance: the case of very short-range shooting
In very short-range disciplines, like some FFTir events on colored targets or short-range shooting schools, the potential parallax effect is theoretically more pronounced than at 25 or 50 meters, because the optical offset angle weighs proportionally more heavily on a small distance and a small target.
In practice, with a quality optic properly calibrated at the factory, the offset remains minimal and rarely noticeable on a normal sport-shooting group. It’s no coincidence that serious manufacturers advertise a parallax-free reference distance: they designed their product with short- and medium-range use in mind, which is the most common use case in civilian practice.
If you notice an accuracy gap only at very short range, before hastily concluding your optic has a parallax problem, first check your grip and trigger control. At short range, grip flaws are visually amplified on the target just as much as any potential optical flaws, which often muddies the diagnosis and wrongly pushes you toward a hardware explanation.
Adapting your setting to your discipline
A shooter practicing dynamic shooting on cardboard targets or metal plates doesn’t have the same priorities as a precision shooter engaging fixed targets at a known distance. In dynamic shooting, speed of dot acquisition takes priority over extreme fineness, so a slightly brighter intensity and an open mount type like lower 1/3 are often favored so as not to lose time between targets on the same course.
In precision shooting from a fixed position, consistency takes priority over acquisition speed by a wide margin. An experienced club shooter will tend to fine-tune their intensity to the minimum needed to keep a sharp, small dot on the target, even if it means spending a few extra seconds adjusting the setting at the start of a string before starting to count points.
These differences in approach between disciplines aren’t absolute rules set in stone, but observed tendencies based on the specific needs of each practice. An experienced club coach, used to seeing shooters of different profiles, remains the best resource for fine-tuning your personal setting according to your main discipline and progression goals.
In clay-target or moving-target disciplines, the use of a red dot differs from that on a rifle or a static handgun. There, the red dot is often used with both eyes open, following a logic of instinctive aiming rather than fine millimeter precision.
In this context, a slightly higher-than-normal intensity can help maintain the dot’s visibility during rapid gun movement, without falling into excess that would create a distracting halo. Mount height also plays a different role here: it must allow a quick transition from the dominant eye to the optic without adjusting head position, which ties back to the same natural-position logic mentioned earlier for rifles.
Common mistakes to avoid
A few pitfalls come up repeatedly among shooters discovering the red dot after having long practiced with classic mechanical sights or a magnified scope:
- Setting intensity only once at the time of purchase and never touching it again, despite very different lighting conditions from one session to another.
- Confusing a grip or trigger-control issue with a supposed parallax flaw in the optic.
- Changing mount height without systematically going through a complete zeroing afterward.
- Neglecting battery condition before an important training session or competition.
- Choosing a mount height by simply copying a setup seen on another shooter, without accounting for your own build and the stock’s cheek riser.
- Forgetting to check that the optic is actually turned on after a long break, due to the automatic shutoff function.
- Neglecting regular lens cleaning, which can give a false impression of blur or lack of sharpness in the dot when the actual issue is simply dust or fingerprints on the glass.
Fixing these habits costs nothing financially and directly improves the consistency of your groups over time, far more effectively than switching to a pricier optic without understanding these fundamentals.
Maintaining your optic to preserve these settings over time
A well-adjusted red dot rarely stays that way forever without a minimum of regular maintenance. The front lens should be cleaned with a microfiber cloth dedicated to optics, never with an abrasive cloth or dry wiping that could scratch the anti-reflective coating applied at the factory.
Periodically check the tightness of the mounting screws, especially after an intensive session or transport. A mount that develops slight play over time, even minimally, can gradually reintroduce a zero shift without you understanding why your groups are suddenly drifting from their usual center.
Store your gun, fitted with its red dot, in a case that protects the lens from impacts, and avoid storing the whole setup in a very humid environment that could eventually affect the optic’s electronic housing. These simple maintenance habits extend the lifespan of your gear and preserve the reliability of the settings you took the time to establish correctly.
FAQ
Q: Does an entry-level red dot have more parallax than a high-end model? A: Generally yes, lens quality and factory calibration influence how parallax is managed. This varies a lot by model and manufacturer, so stay cautious with advertised figures and rely mainly on your own test with a shooting bag.
Q: Should you aim for absolute co-witness or lower 1/3? A: It depends on your discipline and your personal preference for dot visibility. Lower 1/3 clears more of the optical window for fast acquisition, while total co-witness offers a lower, more compact mount, closer to the barrel axis.
Q: My red dot looks blurry in bright light, is that a defect? A: It’s most often an intensity setting that’s too high, creating a halo effect perceived by the eye, not a physical defect in the optic. Lower the intensity by one or two clicks and check whether the dot becomes sharp and precise on the target again.
Q: How often should I check my zero? A: After any mount change, rail swap, or teardown for cleaning, systematically and without exception. In regular use without touching the mount, a periodic check at the start of the season or before an important competition remains a good habit.
Q: Is automatic intensity mode reliable in competition? A: It’s convenient for versatile use and frequent environment changes, but some shooters prefer manual settings to keep full control during rapid lighting changes on the same course. Test both modes in training before choosing for an important competition.
Q: Does mount height matter beyond co-witness? A: Yes, it directly affects your natural sighting position and comfort during a long session, regardless of whether the gun has mechanical sights. A height poorly matched to your build fatigues the neck and slows down your position acquisition on every repetition.