The principle nobody states often enough
A good shooting position isn’t muscular. It’s skeletal. Your bones hold the gun, your muscles only adjust them — they don’t carry. If you shoot with force, you tremble. If you shoot in balance, you stay still for three minutes.
This idea changes everything. Learn it once, apply it in all three positions below.
Standing (10m air, 25m pistol)
Feet parallel or slightly opened, shoulder width. Weight evenly on both feet. Knees unlocked but not bent. Hips slightly back to counter-balance the weight of the extended gun.
The shooting arm extends — not locked, not bent. Elbow in natural extension. Wrist firm but not crisped. Off-hand pinned to hip or in the pocket for 25m pistol. In standing rifle, it stabilizes at the magazine or on the forend.
The secret: the skeleton line, shoulder blade to target, must run through scope or sights. If you have to push or pull to aim, your position is wrong. Reposition.
Simple test: close your eyes 5 seconds in shooting stance. Reopen. If the gun is still on target, your position is honest. If it drifted, your muscles were compensating — you’ll tremble.
Kneeling (rifle, biathlon, sport-military)
Front-leg knee at 90°. Rear thigh on the ground, rear foot under your buttocks (sit on the heel, not the ball). Front-arm elbow on the front thigh — NEVER on the kneecap (unstable), always on the quadriceps near the knee.
Classic mistake: beginners rest the elbow on the knee bone. Unstable as a compass on a marble. Find the position where the elbow rests on muscle, 2-3 cm before the kneecap. Stability is immediate.
Kneeling is less stable than prone but allows fast setup on uneven ground. Heavy use in biathlon, sport-military, PRS dynamic stages.
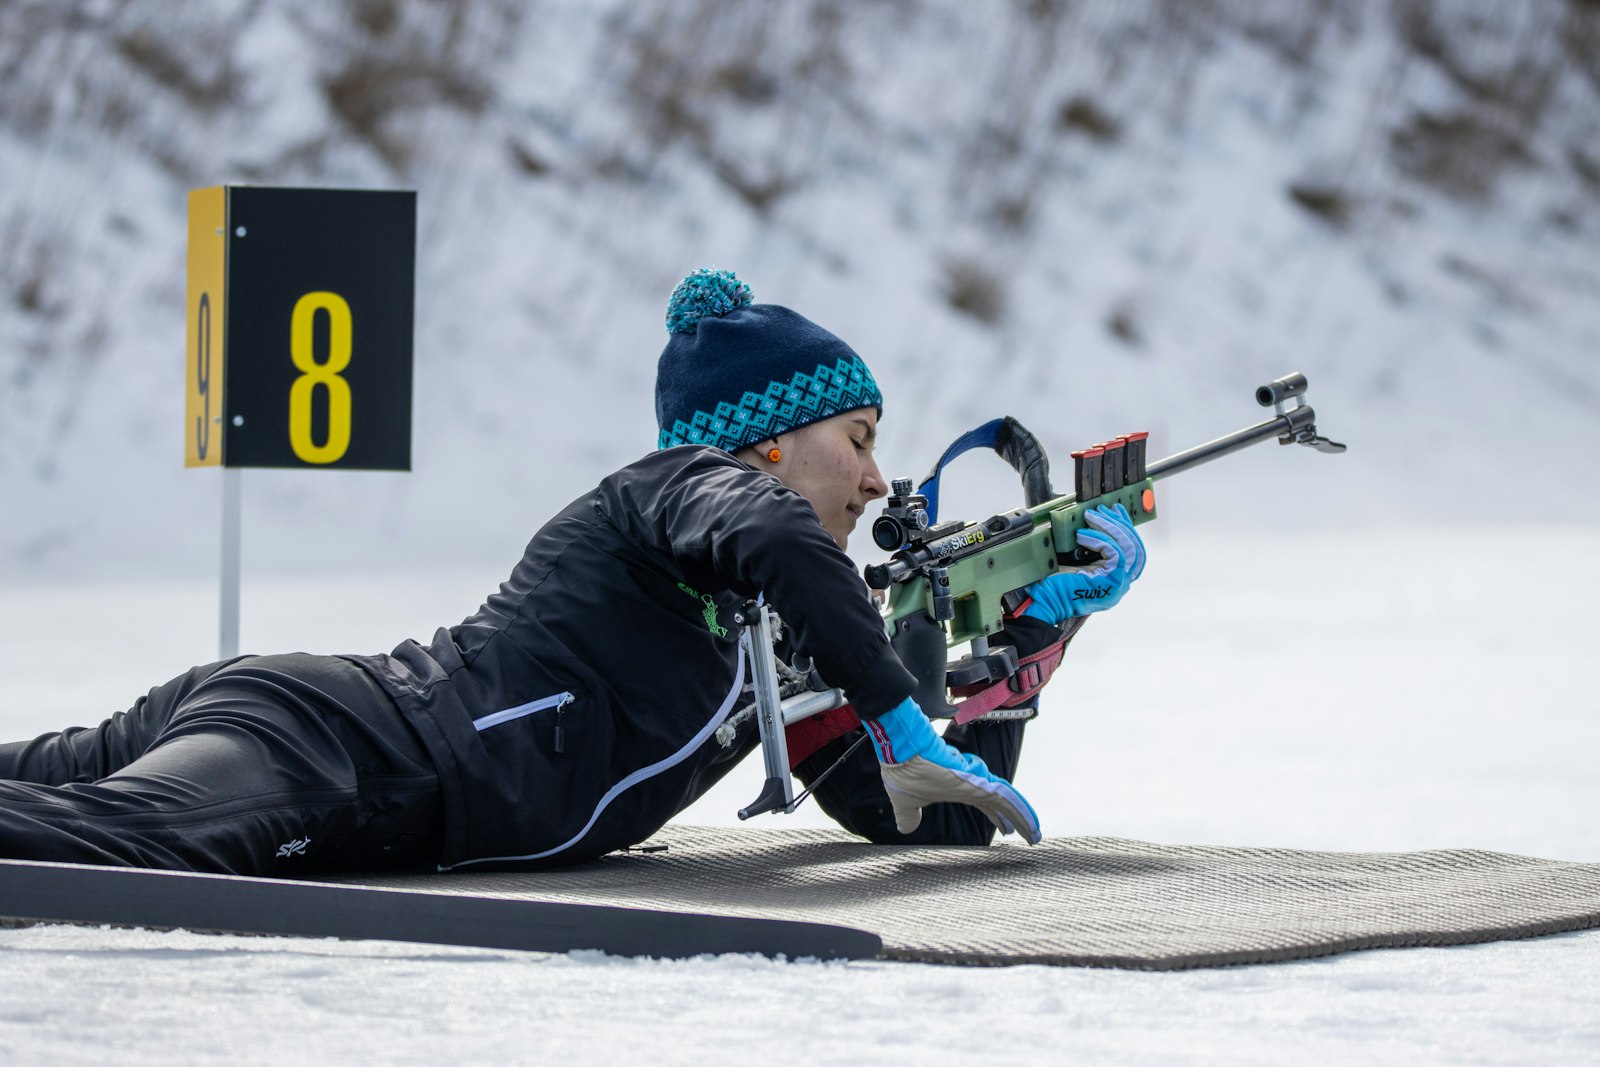
Prone (50m rifle, 100m+ centerfire, PRS)
The most stable. Three keys:
-
Body angle to firing line: not perpendicular (forces neck), not parallel (unstable). Aim 15-25° angle. Body diagonal to target.
-
Bipod or sling: with bipod, you load forward slightly (“loading the bipod”) to neutralize bounce. With sling, tighten until the rifle is “pulled” against shoulder without arm effort.
-
Stock against cheek: firm constant contact. Lift your head between shots and you change point of impact. Stay welded.
Legs spread, feet rotated outward (heels grounded to absorb recoil). Shooting elbow stabilizes, off-elbow supports the rear bag or sling.
The rule that ties it together
Before each shot: check your “natural point of aim” is on target without correction. If you have to force your angle at firing time, position is wrong. Adjust by repositioning your body, not the gun.
This rule is true in 10m air as in .338 Lapua at 1,000m. Universal.
Three classic traps
- Forcing a position to reach a “borderline” target. You’ll tremble and miss. Reposition. Three seconds — you make them up in accuracy.
- Shoulder tension while standing. It builds shot after shot without you noticing. Pause, lower the gun, shake out shoulders every 5-10 rounds.
- Kneeling with elbow on kneecap. Beginner error that survives into competition. Elbow on muscle, always.
FAQ
Q: How long to automate a position? R: 2,000-5,000 reps. Six months at 2-3 sessions a week, or two years at one session a month. Dry firing counts — do it at home in front of a wall, 10 minutes a night.
Q: Need an instructor for positions? R: At minimum a few sessions. A YouTube video shows form — an instructor fixes the 5 micro-mistakes you don’t know you’re making. Invest in 5 sessions before firing 5,000 rounds.
Q: Does position depend on body type? R: Yes, marginally. Skeletal principles are universal but exact angles vary with arm length, flexibility, mass. Find YOUR position, not THE position from the book.
Read more
- Breathing and trigger control
- How to pick your first rifle
- Mental preparation and focus in competition